I'm going to break this post into two parts, as it's been quite a journey and I want to document the work that's gone into it. As I type this, I have not finished my garment- merely bought supplies, so I'm a bit nervous to declare what it is I'm making incase I cock up big style and the result is a majorly disappointing disaster.
So lets start at the start.
The 9 week course I took focussed on drafting your own pattern block from measurements, then using this to design garments. We were all encouraged to work with the basis of a fitted dress with a waistline seam and sleeves. Beyond this we could style it how we wanted.
Once our block was drafted from measurements and crazy maths, we pencilled in our style lines- mainly focussing on a neckline, skirt shape and overall length, before we took to the calico and toiled up our first draft.
The pattern pieces were cut from tracing off the block, therefore seam allowance is NOT included on these pattern pieces. The pattern piece is pinned to the calico on the fold, then drawn around with tailors chalk. A 1cm seam allowance is drawn around the pieces, with 1.5cm at centre back, and any additional needed for hems added onto the bottom of sleeve and skirt bottom. The stitching line is then wheeled through, and with the aid of carbon paper face up on the back, traced onto the back half of fabric. Once cut out all stitching lines are really clear. Seems like cheating, but it's dead helpful and makes for super accurate stitching later down the line.
For the first toile it was handy to mark on bust and hip lines with a running stitch, just to check how it was sitting on the body.
Fitting is probably everyone's least favourite thing about home sewing. The good thing about self-drafting is it keeps fitting troubles down to a minimum. With calico dress on, I took a little out of the side seams between the waist and hips, a little in at the back darts ('We have booty!' my teacher exclaimed) and some off the length. So er, yeah, tighter and shorter was the way forward!
With Aimee's help, we pinned these alterations onto the dress whilst I was wearing it by just pinching out excess and then marking the placement of the pins onto the calico with chalk. This is a lot easier to do when there's two of you, harder when you're alone in your kitchen with your dog.
By unpicking your toile you can then transfer your new makings onto your block by measuring the lengths/shape of your new makings.

Are you keeping up?
So I've got this nifty fitting dress in calico. Our next learning curve was moving the dart placement as I discussed in a previous post. I started by moving the shoulder dart to the underarm, but got even more excited when we discussed making the space between the bodice darts into a new little panel.
So I drafted an armscye dart and joined this with the vertical bodice dart. Don't forget these pattern pieces now need seam allowance adding on when cutting out.

I absolutely adore this brown suede dress at PrettyLittleThing.com. The fit looks very similar to that of my toile, so couldn't resist having a go at those bodice panels!

When it came to making up my new bodice with panels and checking fit, I was already sketching out ideas for what I wanted my finished dress to look like. I decided to go whole hog and make the full toile again, with my side seam, dart and length alterations.... And also a little trick up my sleeve!!! Literally! See what I did there?!

I've been thinking about tassels for a long time, in fact, I could pinpoint it to the day I saw Laura Oakes play at the Plug in Sheffield in early 2015 and she had these awesome western-looking tassels down her sleeves. You can't spot em that well in my pic, but they looked super cool. If you know me, then you'll know I get a kick out of Americana, but also dig things a bit witchy and cosmic. I fell HEAD OVER HEELS with this dress from Violet House:

Honestly, check out their website, they have SO MUCH cool stuff, not to mention Ms. Violet House is a total babe! I spent hours trawling the internet getting excited about babes in tassels, this one from Killstar is another fave:

... I knew it was time to have a go at making the dream reality. I cut two rectangles of calico about 44cmx26cm and stitched these into the underarm seams of my new toile. After turning the sleeves to the right side I cut the calico into strips..... And Mwah! We have tassels!
 | 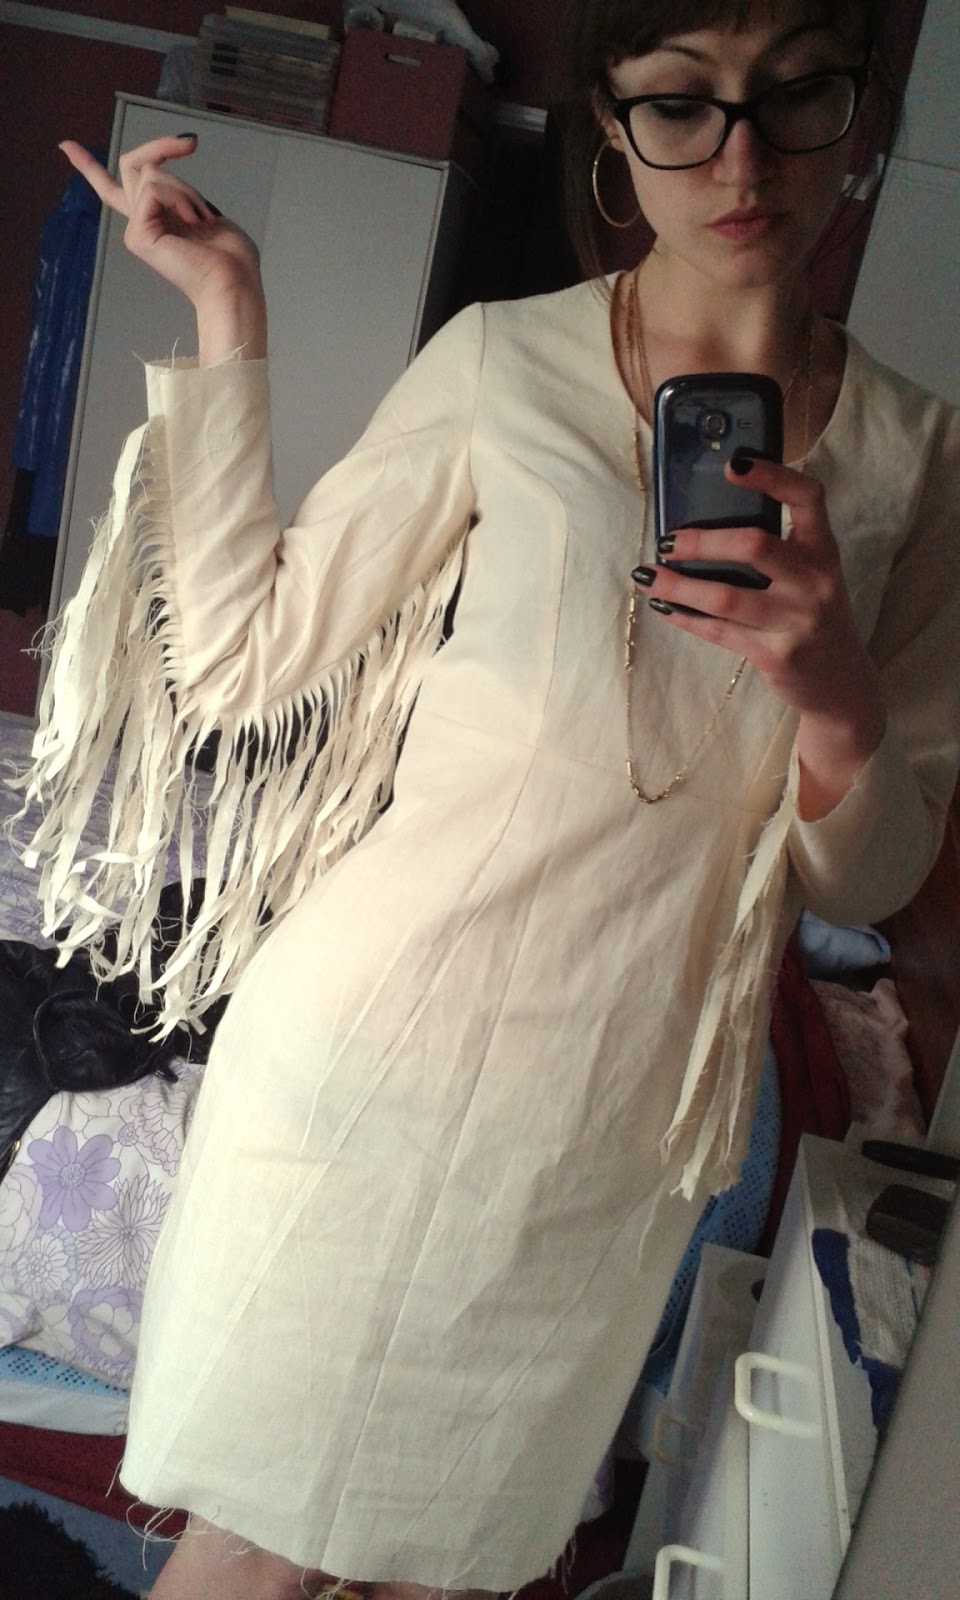 |  |
It didn't take long for these guys to start fraying, so knew I was going to have to pick a fabric that wasn't going to fray. Velvet was out of the window after it had recently pissed me off a bit, also it has the tendency to curl and wasn't convinced it would make a perfect tassel. Mainly though, as much as I love velvet, it's stretchiness meant that my block would need redrafting, as it was designed for stable woven fabrics. I was all for using a fake suede like the panels in my Simplicity 1070 Jacket, and maybe underlining to give it a bit more body, until I told my teacher and she said it wasn't out of the question to make it out of real suede.

I thought about it, and it seemed a shame to do anything but the best after having already put so much into getting this far. I knew it wasn't going to be cheap, but when I found there was a real leather shop just over the hills in Matlock there was no talking me out of it.
 |  |
The Identity Store is a cute little shop round a back street in Matlock. You probably wouldn't know it was there unless you lived in Matlock or have a real love of leather. After browsing their awesome selection online and giving them a ring to check out the feasibility of making my dream dress, I planned my trip for when the new year had kicked in.

The shop is great, with a back room full of all kinds of leathers and suedes and fur. I came away with two pig suede hides in blackest of black and some leather sewing needles. I'm not going to tell you how much it cost! If you can't spend money on things you love then what's the point in even going to work? The staff in store were so so so helpful and gave me some handy tips for getting going.

I've got my pattern, I've got my fabric. My dress is on the way and her name will be Rosalie after this babe!

Stay tuned for Part 2 to see how we get on.
Wish me luck!
x
Currently listening to: Psych ward, The Urges
Your blocks look great, can't wait to see even more self drafted patterns in the future! I've been trying to teach myself but it's going a bit slow... I have found some great books though if you want any recommendations for further pattern making reading :-)
ReplyDeleteAlso, there's a leather shop in Matlock!? Who knew!
Thanks Charlotte! It's so exciting- totally mindblown by all the things I could make with my block! Already bought fabric for the next one but reminding myself not to rush it!! Keep at it, it's very rewarding!
DeleteBook recommendations would be great! Looked at a few that looked a bit daunting but reckon it will make more sense now I understand a bit more.
Deffo worth a visit to Identity Store! So much stock, all kinds of buckles and accessories and stuff you'd never even dream about as well as leathers... Very inspiring! xox
That's how I feel, so many ideas! I've only managed the bodice and sleeve block so far and gave up for a bit because it was hard! Need to make my skirt block so I can draft lovely dresses too!
DeleteI would recommend Portfolio Skills: Pattern Cutting by Dennic Chunman Lo. for something pretty in-depth with lots of background fashiony stuff or Pattern Cutting Made Easy by Gillian Holman for something that just gets straight into it. Pattern cutting made easy is good because once you have your block it shows you how to alter in to make various options like a fitted kimono block, v neck lines, button stands, collars, princess seams tucks and pleats and all sorts! It also covers how to make your block into a jacket or trousers and the instructions are pretty clear once you know your way round the block which you obviously do! :)
I definitely think I need a trip... it sounds amazing! I really fancy a leather Ziggi jacket but didn't know where to go for leather so thanks for sharing!
I have just clicked buy on Pattern Cutting Made Easy! Think I should come off Amazon before I just buy all the pattern cutting books! Haha.
DeleteNo excuses for you not to make a leather Ziggi jacket now. The shop has a really good website but think they are doing it up at the mo. Deffo worth checking it out when they have it back up and running xox
Woo! I hope you find it useful! You'll have to me know what you think :)
DeleteJust signed up for notifications for when their websites back up too! Can't wait to have a browse xD
DeleteThe fit on your toile looks brilliant! I absolutely love pattern drafting, and can recommend the pattern drafting classes on Craftsy. They work from the Craftsy block from their block drafting class, but you don't need to use that exact one - because I don't!
ReplyDeleteThanks Lynne, loved the whole journey! If I'd have shown myself this post two and a half years ago I'd have been mindblown!! Thanks! Will check out what Craftsy has to offer, so exciting!!! xox
Delete