Sunday 30 August 2020

Simple Sew, Olive Blouse


I have seen surprisingly few Olive Blouses pop up online, so I was excited for my chance to make one for this months' Simple Sew blog.


I cut a size 8 and made a toile to check fit. The blouse fitted nicely across the bust and around the waist but felt tight across the back, restricting movement a little. The sleeves were also a little snug around the elbow, so I set to making a couple of basic adjustments to the pattern. 


To make a broad back adjustment, I first folded under the seam allowances on the paper pattern where the yoke and back met and taped them together so I could treat this as one piece. I drew a line about 2cm along the shoulder from the sleeve cap and another about 2cm below the armpit, then extended these to meet at a right angle. I cut along these lines and moved this shoulder section outwards. I used a shirt pattern I know fits well across the back to use as a guide for how far out to move the pattern piece. Comparing the pattern pieces I also realised I needed to extend the shoulder seam by another couple of cms or so and then redraw the curve from the shoulder point down to the double notches. 
To match I made this same alteration to the front yoke piece- extending the shoulder and then redrawing the curve this time to the front notch of the armhole. I made a minor sleeve adjustment, adding just a little bit more fabric into the back sleeve cap to aid movement.


To make the sleeve width alteration I firstly marked on the seam line of my toile where the sleeve felt too tight- basically just the section around my elbow. On the pattern I straightened the curve on the sleeve seam so it was a straight line from underarm to wrist. This added a few extra cms where I needed them but didn't affect the fit elsewhere on the arm. 


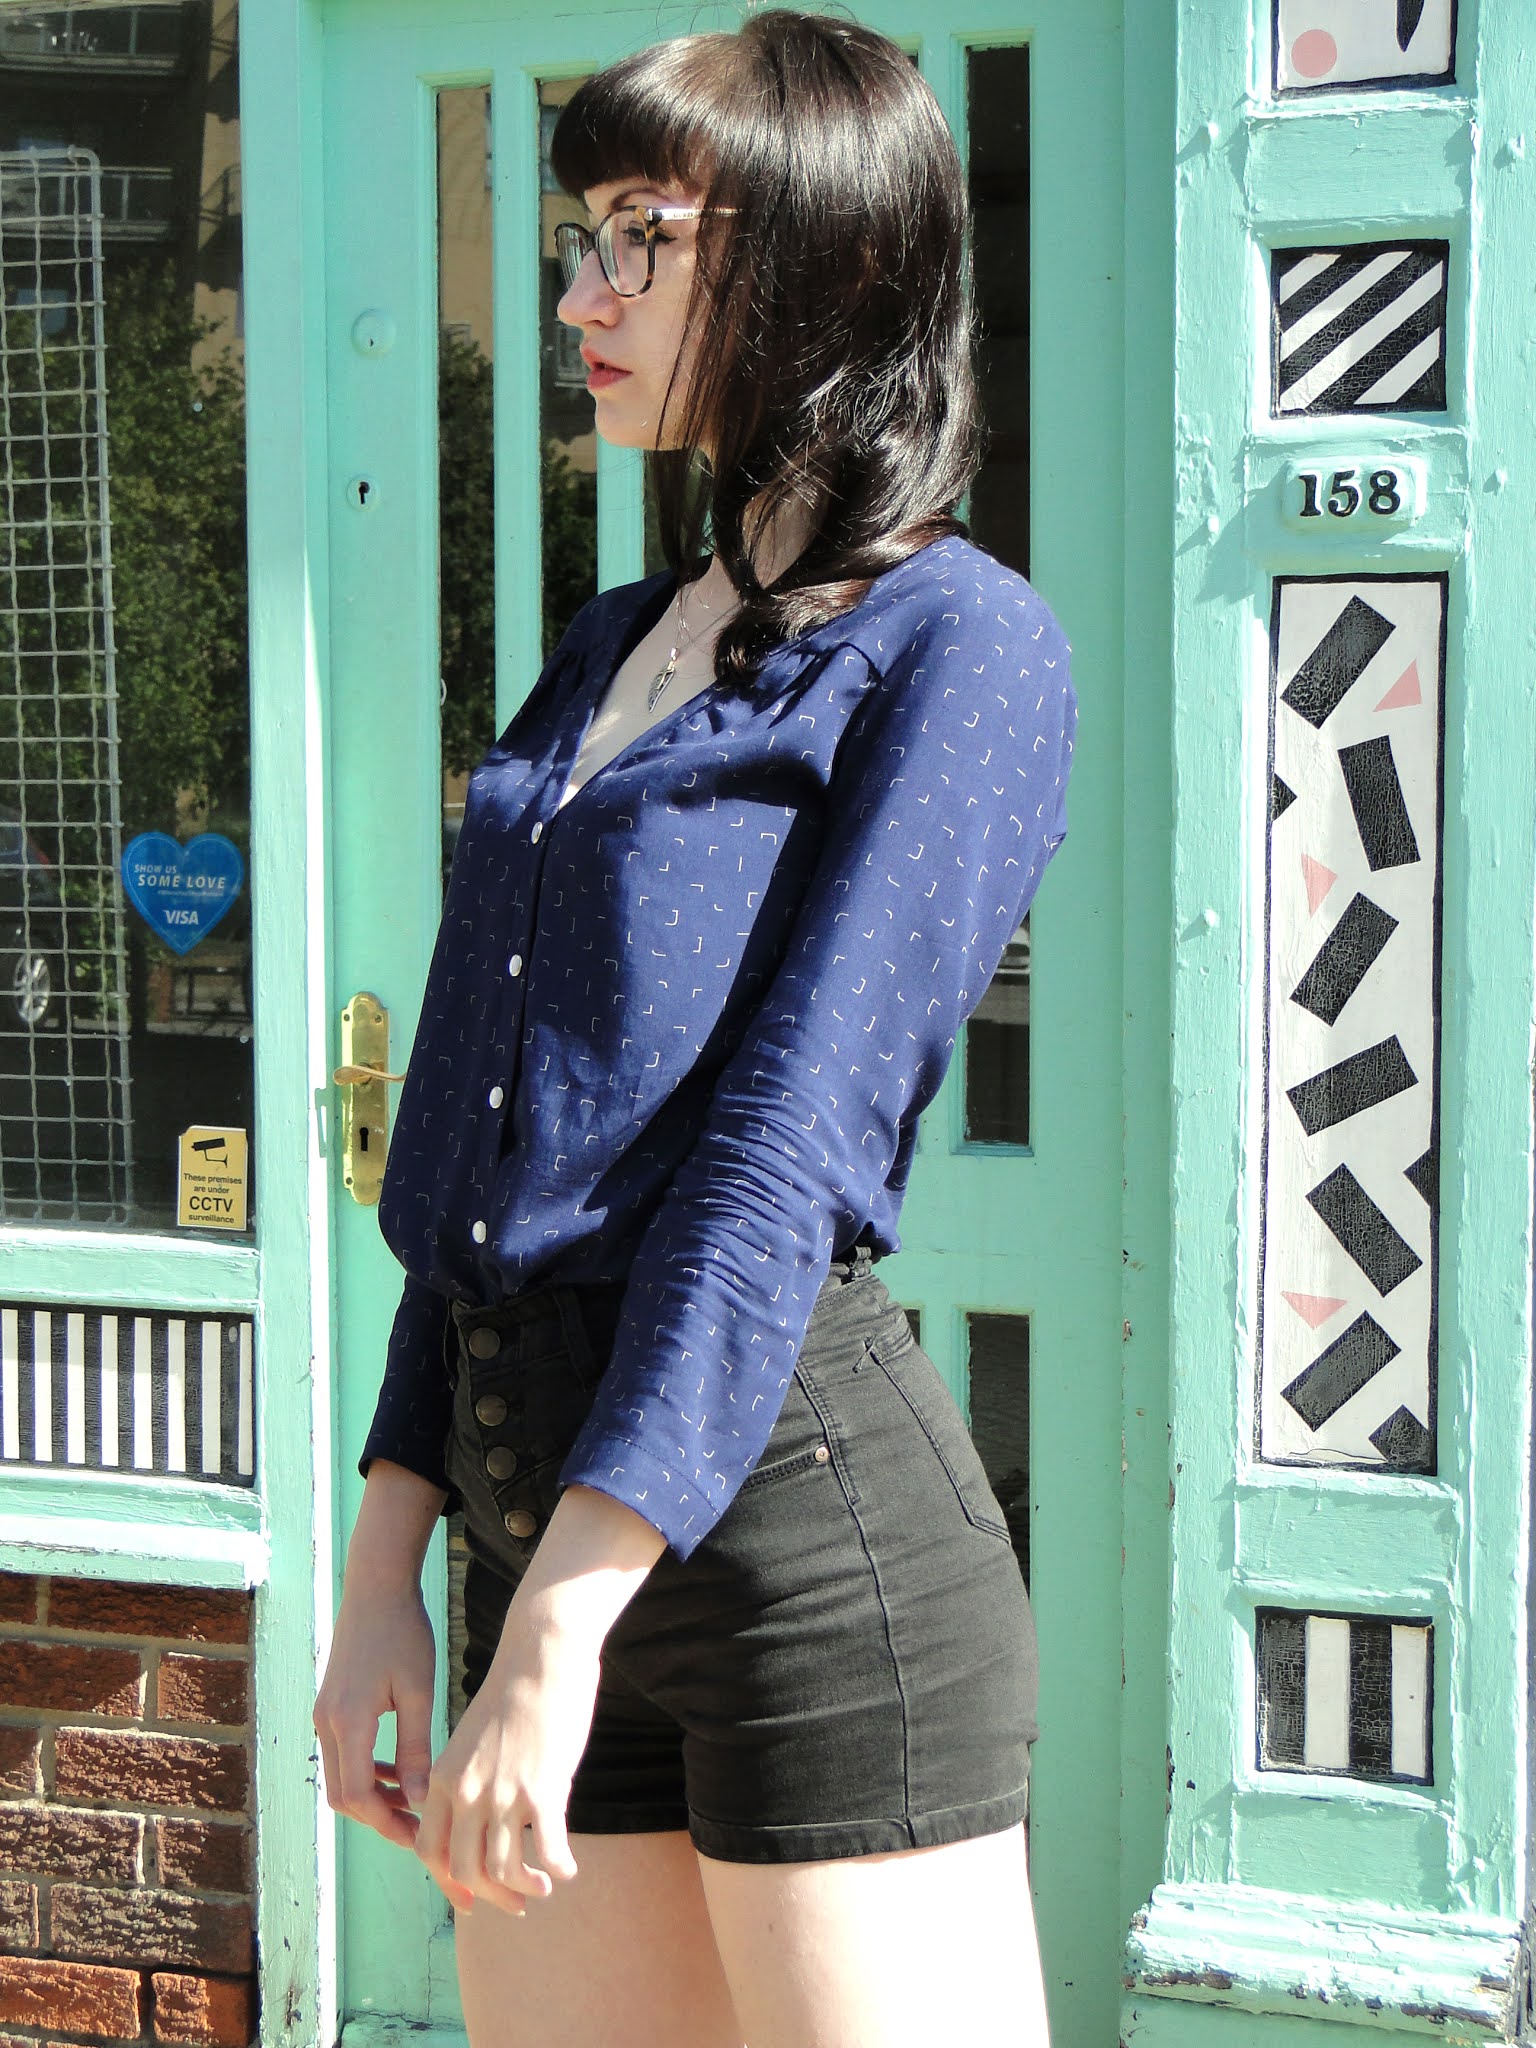
Onto my fabric choice... I couldn't have fallen more in love! I used this 100% rayon from the Cloud 9 'Business Class' range, kindly supplied by Bobbins n Buttons. The whole range is absolutely beautiful, but I chose this 'Business Class Coder' design. It's geometricity appealed to me as well as the print looking somewhere between an organised explosion of staples and a CSS coder's dream. This was before I'd even touched the fabric.... Wow, once it arrived I was falling all over again, the rayon was the perfect weight to make this drapey shirt- ideal to make the most of those gathered sections below the yoke. It also found it pressed like an absolute dream! The fabric had just enough stretch for me to stop worrying that I hadn't added enough extra fabric across the back and elbows and it wasn't prone to laddering which was a relief when it came to adding my snap closures. Honestly, I was so impressed I can see myself going back for the other designs in the range.


The pattern itself is easy to follow, though I would have appreciated a few more notches, at the shoulders for example, to ensure I was matching everything up properly. The pattern doesn't quite prepare you for how tricky attaching the front band around the neckline curves can be either! Due to my rayon being so well behaved it thankfully wasn't so bad, but when making my toile I found it quite tricky to match together the opposing curves at the neckline. 


My advice for attaching the neckband would be go slow and be as accurate as possible! When stitching I started at the centre back and worked outward toward the front neckline. I would also recommend making sure you trim and clip your seam allowances to get the neatest finish.


The uninterfaced band is attached to the neckline first, then the interfaced band is sewn right side to right side before being flipped to the underside. I trimmed the seam allowances here too and then understitched the inside piece to the seam allowance. This stops the inside from rolling out and becoming visible from the front. 


The band is then fixed by 'stitching in the ditch' around the neckline seam... Make sure you overlock the raw edge of the inside band first! In reality you can trim this by about 1cm as you overlock- as it is not folded under you end up with quite a large overlap over the seam on the underside if you don't. 
Again I found it helped to start at the centre back then stitch out toward the front. I would also recommend just stitching sections to hold the underside down  instead of stitching all the way around to avoid any pulling or rippling of the band.


The thought of putting button holes in the band after all that work went right through me, so I struck lucky when I found these pearl Prym snaps at  my local market. They are in the Prym 'Jersey' range, so I was a little worried that for some reason they wouldn't work with woven fabric but it was fine! Always double check your snaps are the right way round before fixing them!! I very almost had a scary moment featuring a back to front popper that would have ruined the whole thing!!


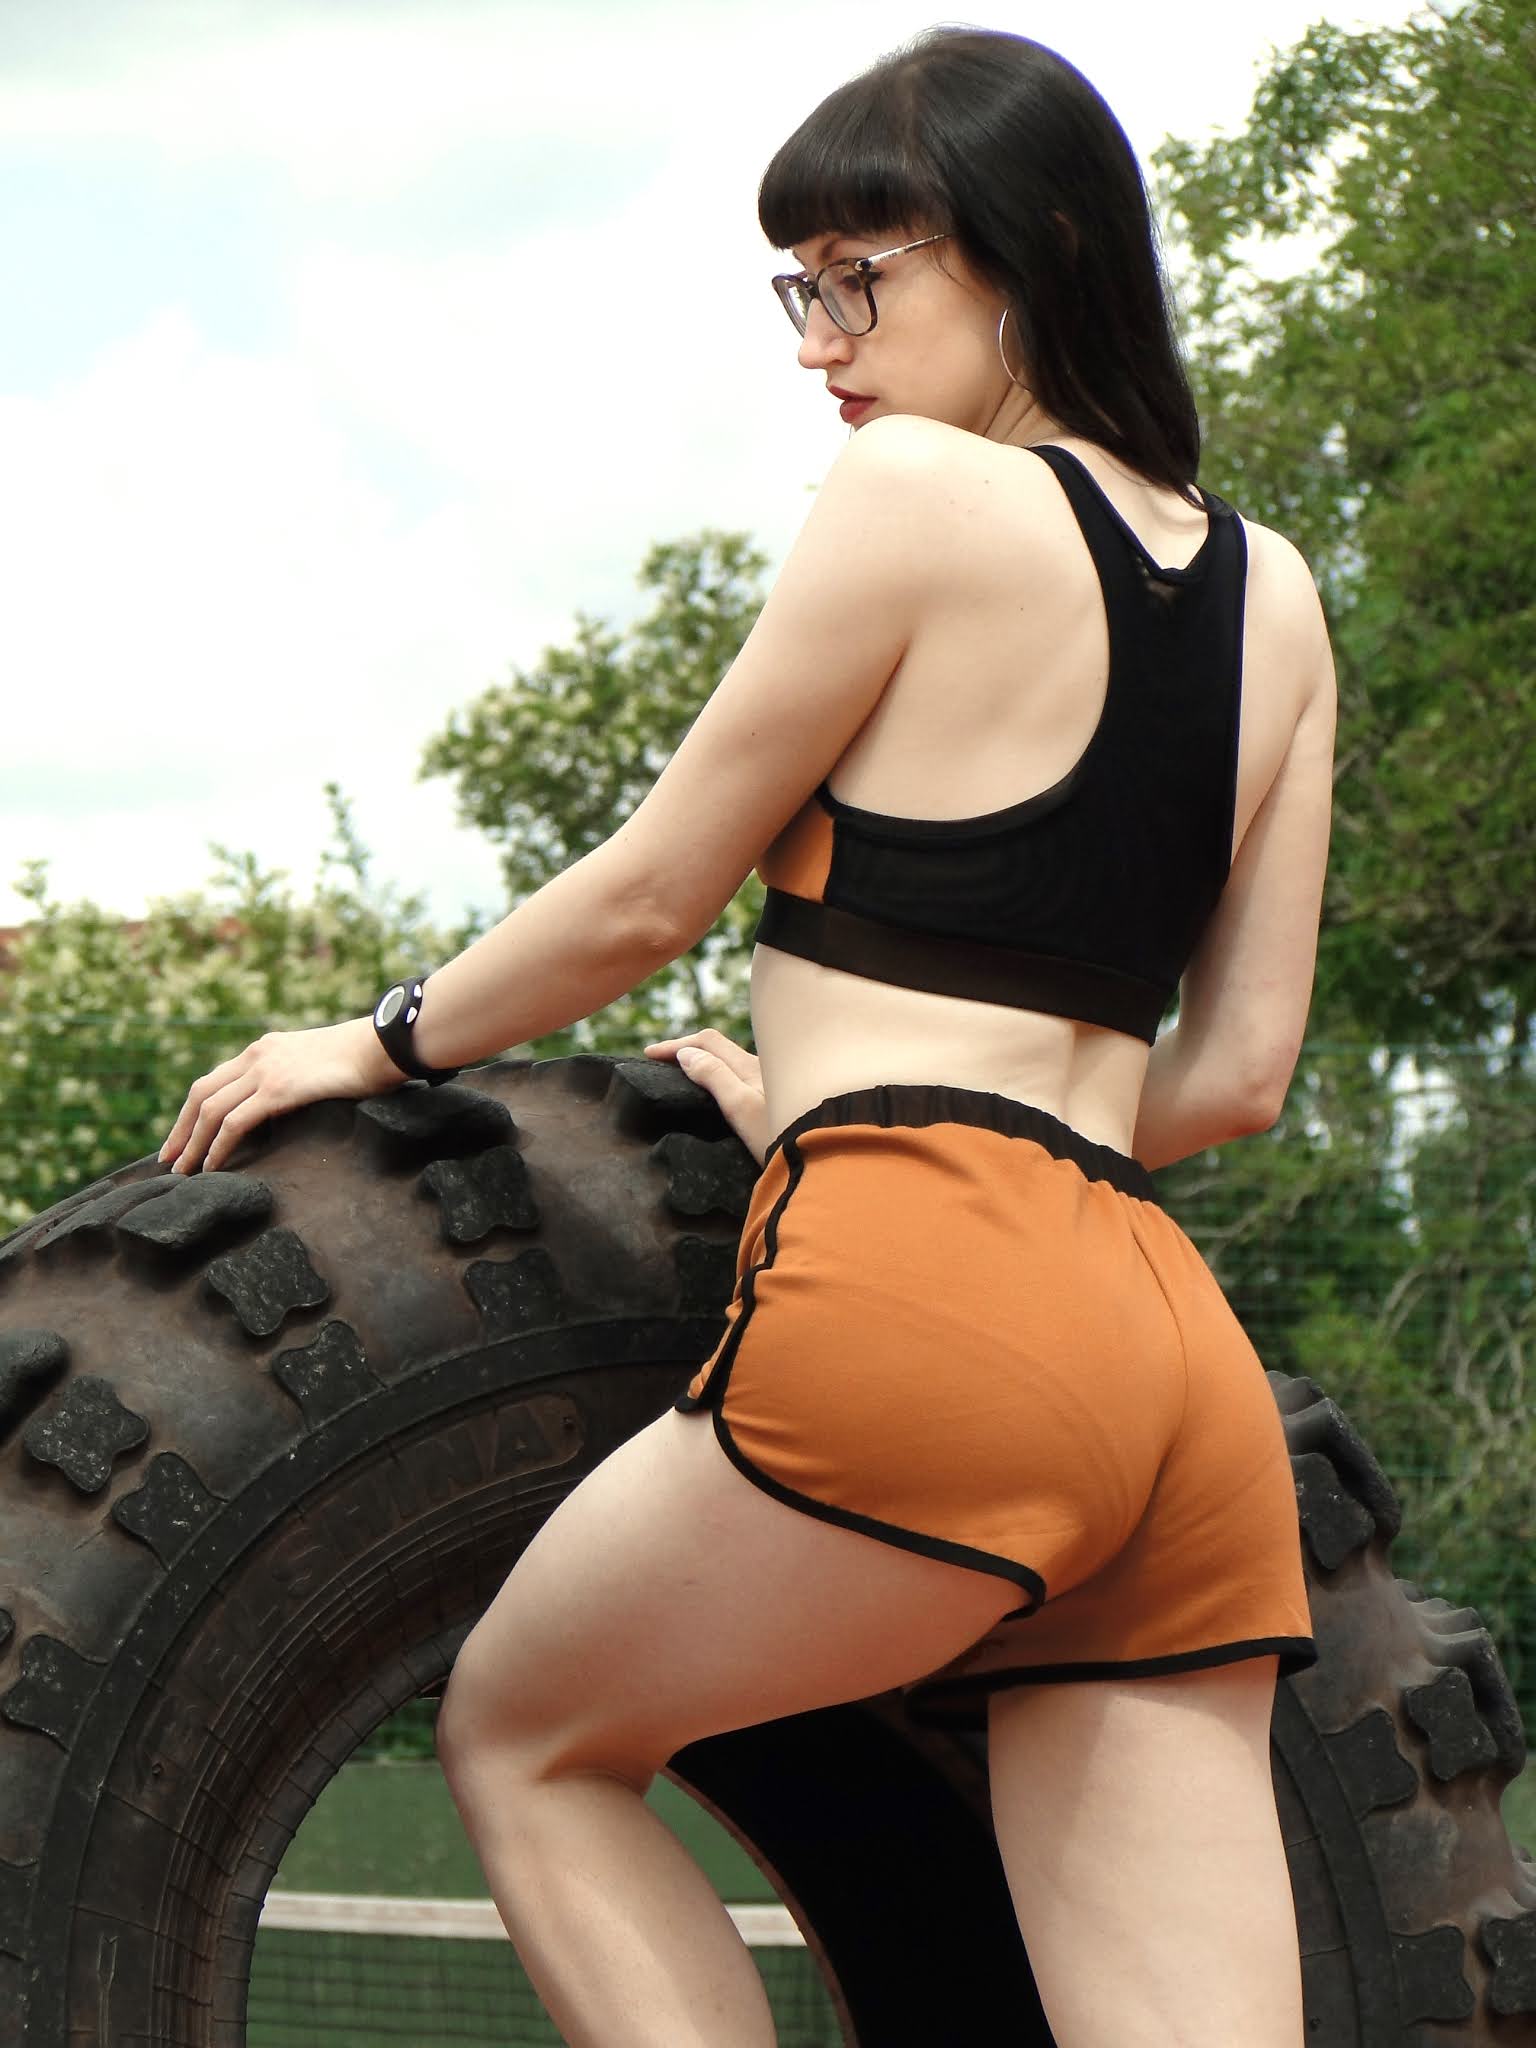
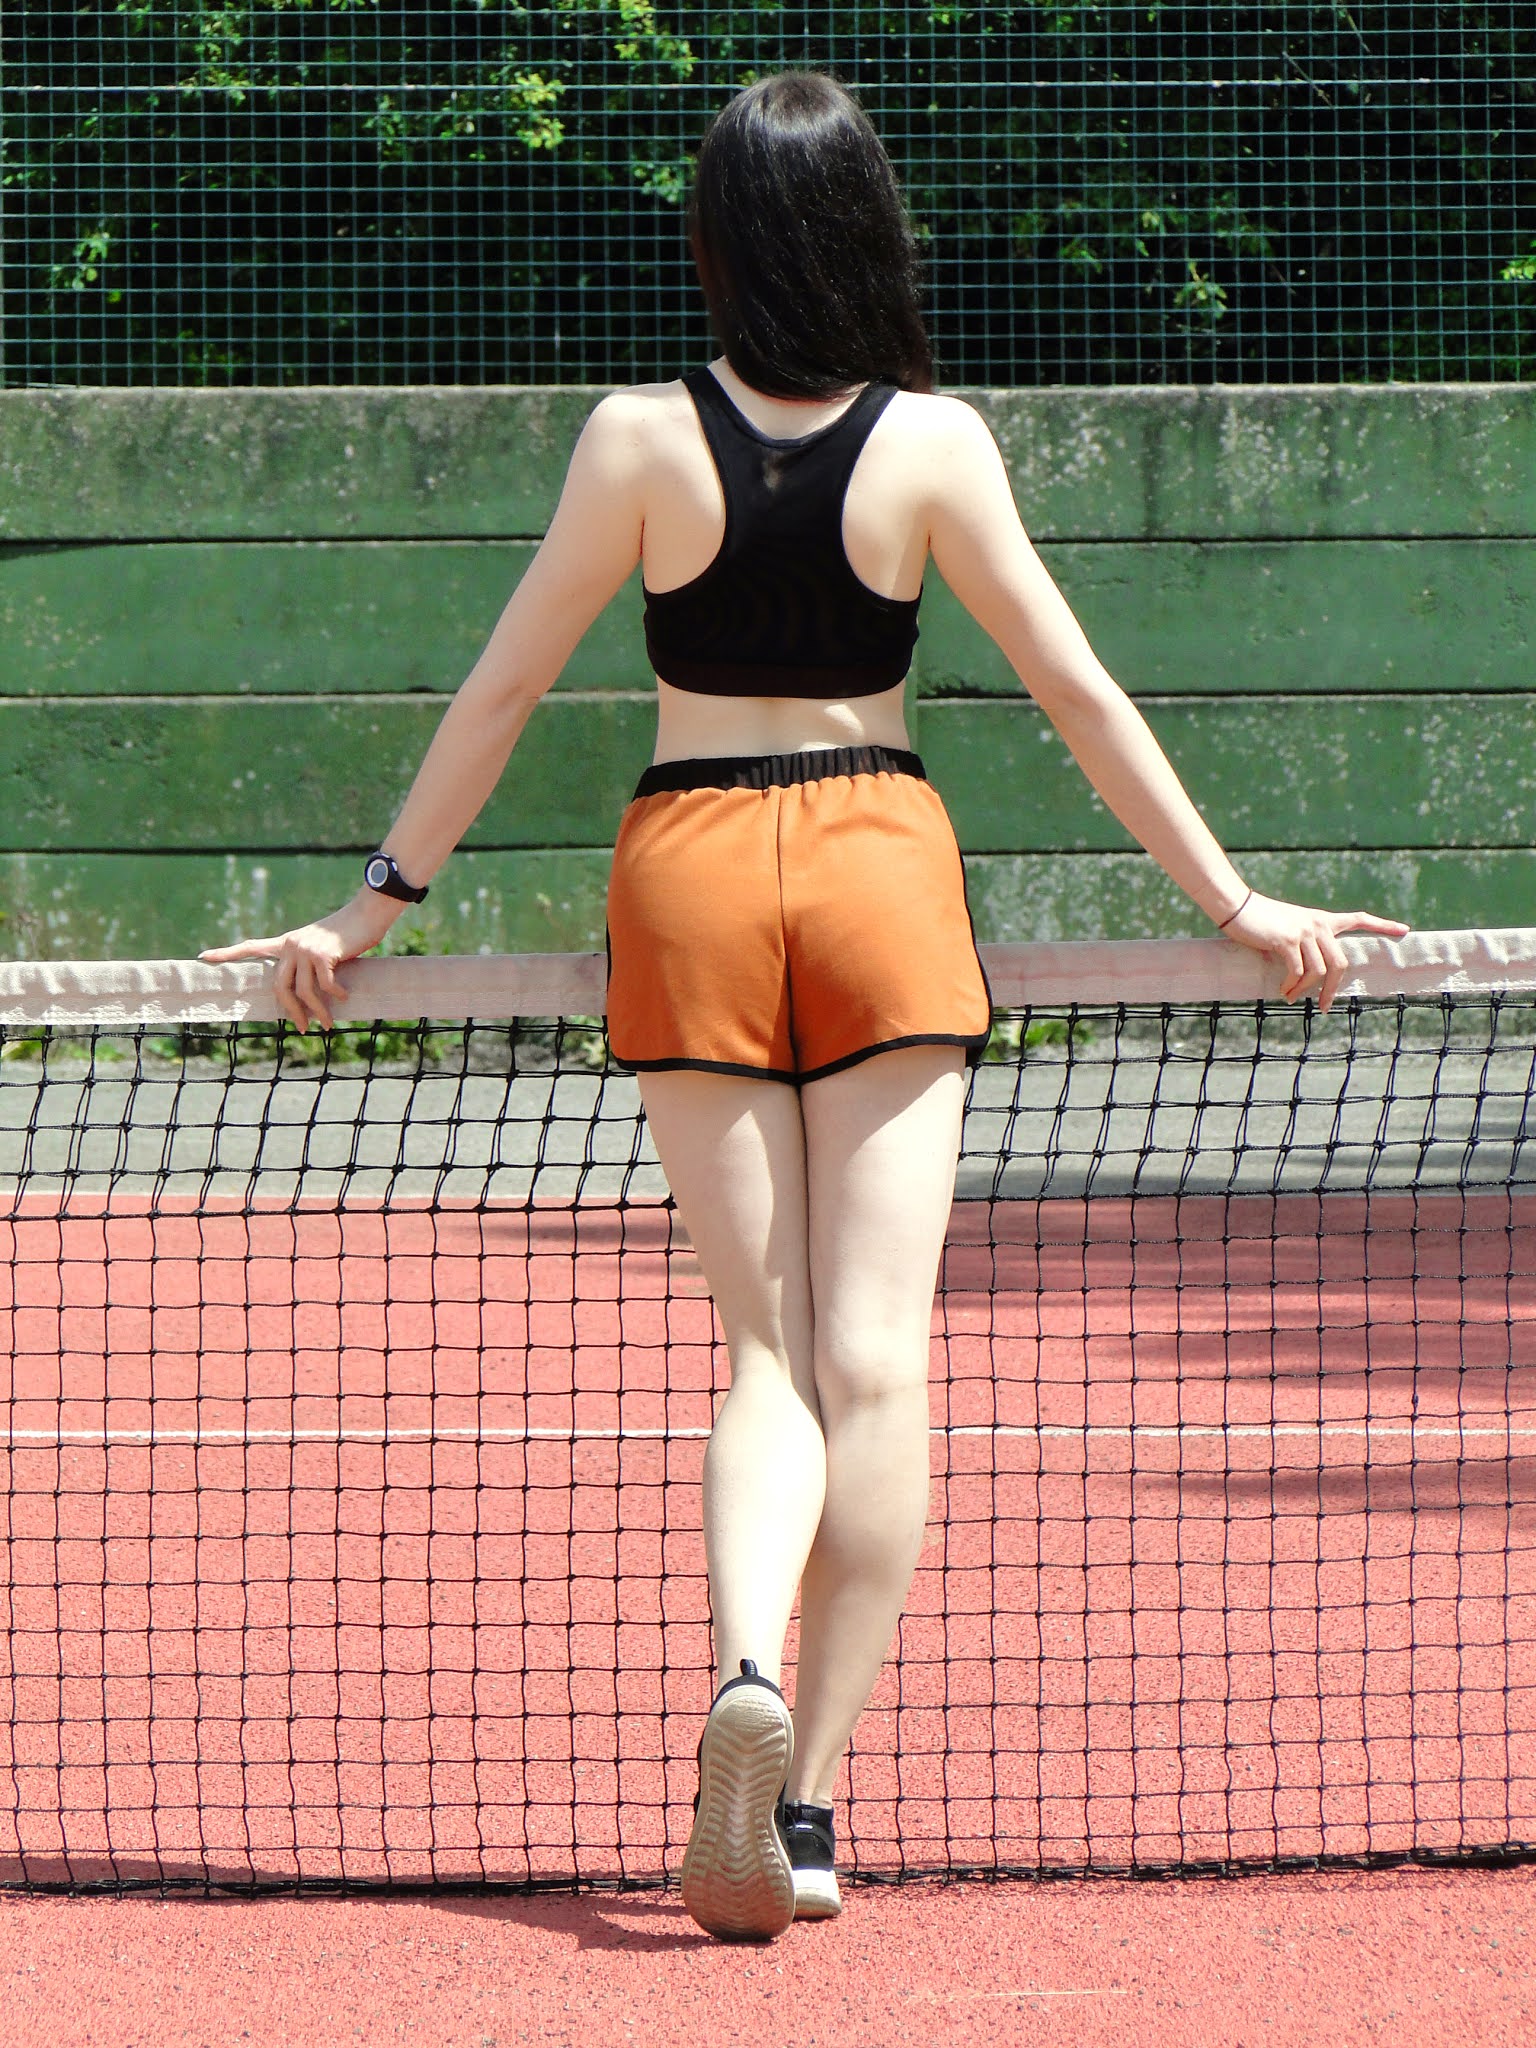
The blouse fits well, the gathers below the yoke make it loose fitted, which I love for tucking into my work skirts... And works with my shorts too! I would recommend wearing a little cami or something underneath for work, as the neckline is quite low for something that loose.


Who else is making an Olive blouse? I want to see some more sassy fabric combos!


x
Location: Syd and Mallroy Devonshire Street, Sheffield
Currently listening to: The Drugs Don't Work, Verve

Sunday 16 August 2020

Purl Soho, City Gym Shorts


Who doesn't like free stuff eh?! Even more so when it's free stuff you actually want! The City Gym Shorts sewing pattern is a free PDF download from Purl Soho - Looking on instagram I'm late to the party, the hashtag is buzzing! I wanted a simple gym short pattern t use up the last of my rusty colored jersey ant to match my New Look 6493 sports bra. As luck would have it my colour also matched my boxing gloves!


The PDF consists of just the front and back shorts pieces and then you cut the length of your waistband according to what size shorts you cut. I didn't have enough fabric to cut the waistband in one piece so I halved the measurement, added on the seam allowance and stitched two pieces together. I thought I was being pretty smart but I hadn't taken into account that the back shorts piece is larger than the front piece- so the side seams of my waistband did not match the seams of the shorts!!! The waistband it elasticated though, so thankfully my seams are kind of hidden in the elastic!


I used 1 1/4 inch elastic so the dimensions of my waistband were 5 1/4 inch by 19.75 inch x2 - including the new side seam allowance. I left a little gap in one of my side seams so that I could insert the elastic. To match the underband of my sports bra, I cut the waistband from power mesh too and tacked to the orange band so I could treat this as one piece when assembling. 


The super cool design feature of these shorts is the sporty overlap at the side seams. I love how this feature is a bit cheeky but also totally practical for workouts! The edge is bound right from the front side seam, around the leg and back up the back side seam before the side seam is sewn by overlapping the front over the back.


I used the power mesh for the binding. The binding pieces measured 50 inches by 4cm. The strip is then sewn to the right side of the shorts with a 1cm seam allowance. The binding is then turned to the inside so the raw edges are encased, and stitched again close to the fold line. Due to the stretchy nature of the power mesh, binding those curves at the front wasn't too tricky. I should point out that this pattern is actually designed for wovens - using bias binding you can get the same neat finish as I did using stretch fabric.


Confession time! I will own up to the fact that I initially did now attach the binding this way. For some foolish reason I thought it would be... easier? to attach it to the front and overlock the raw edges before turning the seam to the back... OF COURSE this did not work around the curves on the side seam! What was I thinking?! I then thought, maybe if I pressed the absolute crap out of it I could somehow make it sit flat?! Instead I managed to melt my binding!! What an idiot! Only the binding was harmed, thankfully, as I didn't have any more orange fabric to recut the whole shorts. I unpicked my terrible binding fail and reattached following the instructions.


Once bound, as I mentioned before the side seams are sewn by overlapping the front over the back and then topstitched. I made sure to measure how far down I stitched so I could ensure both sides were equal. 

To add the waistband I abandoned the pattern again, this time with a greater success! I overlocked the band to the right side with a 1.5cm seam allowance then turned this to the inside. This can create a bit of bulk I suppose but it's quite a secure seam with plenty of stretch for sports... It's also loads easier to attach than folding and sandwiching the raw edges inside the band.

Insert the elastic, sew up the sneaky elastic hole and you're done! It feels like the shorts come together really quickly as you don't have to stitch side seams or hem them as you usually would with a garment. 


Not much fabric is required to make these, especially if you want tiny shorts! Perfect stash buster!

x

Location: Coldwell Lane Sports Ground, Sheffield
Currently listening to: Let Me Blow Ya Mind, Eve & Gwen Stefani

Tuesday 4 August 2020

New Look 6493, Bralette


The New Look 6493 Bralette is understandably overlooked in favour of the pattern's main feature, the cross-over summer dress/playsuit. For using up scraps of jersey though, this bralette pattern is a winner! I decided to try and make this bra as sporty as my stash would allow, so I used this black power mesh as a contrast to my rust-coloured jersey that's been kicking about in my stash for years!


With this in mind I decided to also use the power mesh as a lining for the bra. To do this I cut all the pieces from the mesh (two back pieces - one for inside, one for out) as well as the front and bottom band pieces from the orange jersey. I hand tacked my two front layers, back mesh pieces and the 2 underband layers together so I could handle each piece as one when assembling the bra.


The front piece features a gathered section at the neckline. To make this I stitched 2 rows of loose gathering stitches between the pattern markings, through both layers and then pulled the thread to gather. I haven't gathered anything for ages!! I found this a little bit tricky with stretch fabric  - especially for the next stage when the section is gathered to fit the neckband.... but the neckband its stretchy and is stretched out as you attach to the neck!! I feel like there was a lot of room for sizing slip-ups when both the neckline and neckband have an indeterminate length!! To try my best to ensure the fit was accurate I made sure I tried the bra on at this stage and arranged the gathers to sit neatly on my bust. 


I attached the neckband using the overlocker, as I would a neckband on a tshirt. The pattern suggests sewing it on as a binding piece, with the raw edge of the bralette sandwiched between the binding. As my band was see-through though I attached it flat onto the right side (stretching out a little particularly around the front of the armholes to avoid gaping) and then turned upwards so the overlocked edge was flipped to the underside.


Once the shoulder seams, front gathering and neckband are all complete the side seams are sewn. I tried on and found there was a little bit of gaping at the underarm. I increased the seam allowance by a further 1.5cm at the top of the underarm seam only and graded back out to meet the seam at the bottom.


With this alteration in mind, I took 3cm off of the length of the armbands (by increasing the seam allowance by 1.5cm). Of note - the pattern dot on the armband to match to the shoulder seam is NOT central as the back of the armhole is bigger than the front. Remember to ensure that once the seams are matched at the underarm, the shorter length up to the dot is the front. Again I attached the armhole binding in the same way I did my neckline- stitching to the front and flipping to the inside. I made sure I pushed my bra side seam allowances towards the front as the back piece was sheer and I didnt want them peeking out.


At the front arm hole I separated the front from the lining and only attached the outside to the armband. This left a little gap where I am able to insert soft cups into the bra for extra support. They can be removed easily and washed separately. Next time I will plan this opening a little more thoroughly in advance and overlock the edge of the lining separately before tacking it to the front piece.


With neck and arms complete, the last stage is applying the bottom band. As the back of the bra was sheer I did not want to add on orange band right the way round. I was tempted to just use the mesh on its own but the elastic I had in my stash was white and I thought it would jump out a mile as the fabric was see-through. To combat this I layered the mesh on top of the orange then folded in half to create the underband. I went off on a bit of a tangent from my pattern instructions (again!) and attached the bottom band by overlocking it onto the rightside then turning the seam allowance under. I had left a little gap in the side seam of the band to insert my elastic as outlined in the instructions  - but I would say of you are really short of elastic and you used quite a sturdy stretch fabric AND you aren't going to be doing starjumps in your bra all day, then you could get away without putting the elastic in. I did however have elastic I'd bought especially for this project so I inserted it by feeding it though with a safety pin.


My elastic was 1 1/4 inches where as the pattern called for 1 inch elastic. To accommodate for this I made my underband 1/2 inch taller so that when it was folded over it would encase the elastic perfectly. Obviously this height can be varied depending on the width of your elastic. When attaching the band with the overlocker to the bra I ensured I was sewing at a 1.5cm seam allowance so that when the elastic was inserted there would be no floppy empty bits in the band.


The bralette is cute! I feel like there's plenty of ways to play around with the design and mix match fabrics to make a whole array of New Look 6493 bras. Next time I will pay a bit more attention to the gathers at the front. I think this is a cute feature but as the fabric is so stretchy, once the bra is on the become a bit less defined and run the risk of looking a bit like a mistake! I think it would be easy to omit the gathers altogether by reducing the width in the front of the pattern. Stretchy fabric is so forgiving that I think you could get away with it quite easily!

Click over to my next blog to find out how I made these matching gym shorts!


x

Location: Coldwell Lane Tennis Courts, Sheffield
Currently listening to: Honey Don't, Wanda Jackson