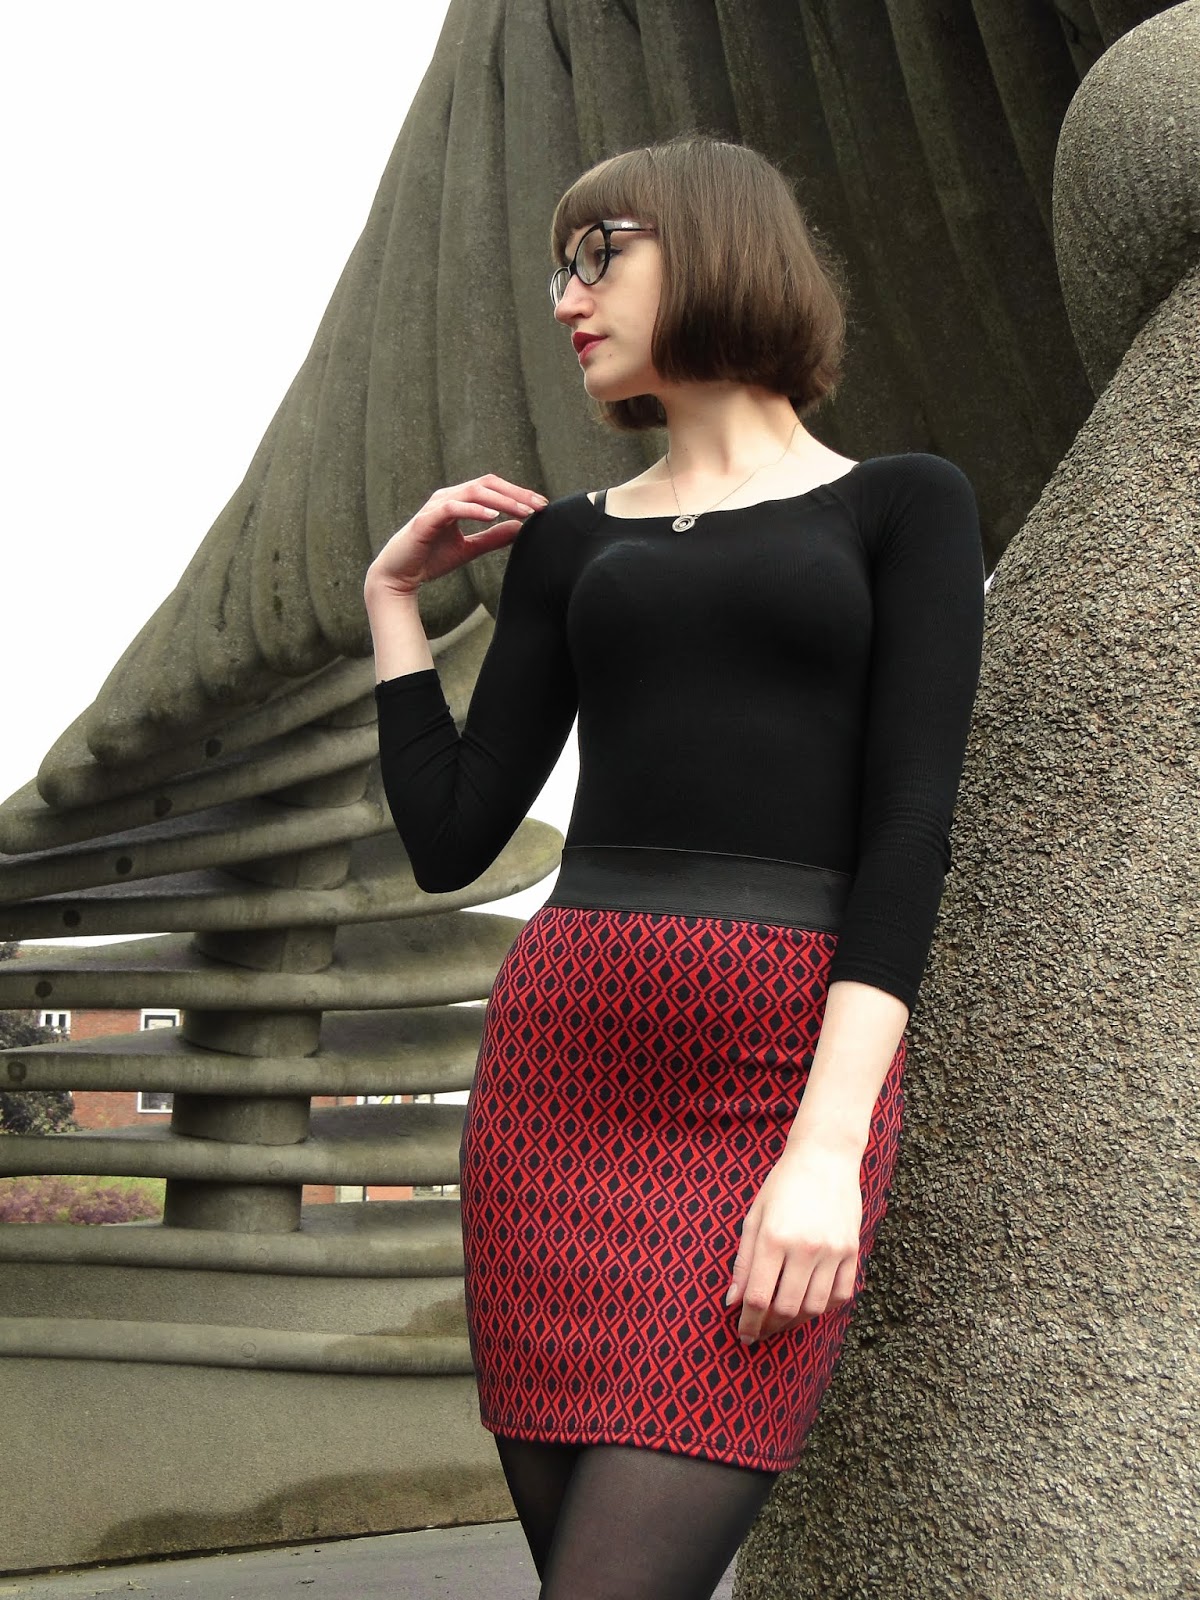
Vinted fabric skort all ready to go for our last gig, I came a bit unstuck as to what to wear on top. Cue contents of wardrobe exhumed, and bedroom floor looking like I'd been burgled. In the end, a quick trip to the charity shops in Hillsborough found me a perfect stretch tee with cinching side ties (see previous blog post for combo), but the crisis left me wanting to be better prepared for next time.

This got me thinking about what features my perfect gig shirt should have, and I came up with the below:
- Shoulders-> because as much as I love a strappy vest, when you're halfway through your set and sweat-sticky, guitar strap and sweaty shoulder can lead to increased friction, and this can make guitar swinging less effortless. In general, Shoulder + Fabric + Guitar strap = Reduced friction (+ better dance moves)
- Sleeveless -> Less sleeves = More movement + Less sweat
- Cropped -> Because I don't work out every day to hide my waist, and as much as I love tucking in a shirt for work, I don't want to have to be worrying about my shirt hem escaping my waistband mid-way through a track. Also less fabric, again = Less sweat
- Easy to get off-> Because after the show I'm sweaty, and don't want to have to wrestle my way out of my outfit
- Black -> Because I've tried wearing other colours on stage, and regardless of how good I think they look at the time, whenever I look back on the photos I think 'Why on earth did I wear that?'


So with this in mind, and fabric left over from my Vinted re-fashion, I started to dream up a gig shirt that would team up with my skort and tick the above boxes.

I had enough Vinted fabric left over for panels of some kind, and with this Aztec-type embroidery, it made sense to utilise it as a statement yoke on a cowboy-style shirt. With no front-yoke or piping expertise in my arsenal, I knew I needed the help of a good pattern. I chose the McCalls M7980 as I have good experience in the past using McCalls shirt patters, and this one had the double whammy of being both suitible for men or women. I got the pattern for my birthday and began tracing it off soon after (wehay for Birthday annual leave).

Once I'd traced the pattern pieces, I thought it a good idea to compare the size to a shirt pattern that I know fits well. Come to the stage M7575, my trusty old friend. What became very obvious straight away was the M7980 was much larger, and featured no bust darts. The plan all along was to knot up the front at the waist so it sat cropped on me, and the extra length would be helpful for this, but the bagginess would lead to likely gaping arm holes (I planned to finish the arm holes with bias-binding instead of inserting sleeve so that I could be sleeveless as planned).
The resolution for me was clear, I would cut the M7575 pattern, omit the sleeves, draft front yoke pieces by using the M7980 as reference, and extend the front piece so that the placket could be better tied at the waist. Without any real plan for how long to extend the placket, I made the shirt front pattern piece 10cm longer, adding a curve to omit extra fabric and make more of a tie-shape. I extended the placket pattern piece by 10cm to match this, and will admit it was by total fluke that the front piece of the shirt graded out to a point so nicely.

I made a slight change to the collar piece, making the collar points a little more, er pointy. I have had these collar tips in my stash for how long?! Feels good to finally install them onto a well-deserving shirt.
All my life, I have thought that the front yoke on a cowboy shirt was attached to the bottom half (like a traditional back-yoke) of the shirt via a seam, NOT that it was a piece installed over the top like a patch. It all makes perfect sense now after thinking about it, and reading some hand hints on the Sneum Shirts Website, which explained the yoke was to reinforce and add durability to the areas of the shirt likely to get worn out when yipikaye-ing your way around the wildwest on horseback.

So with yoke pieces cut perfectly symmetrically (utilising the centre back seam of the origanal skirt on the back yoke piece), it was time to investigate something else new to me: Piping.

I bought this silvery piping from my go-to stall at the Sheffield Market (is there nothing they don't have?! I don't think they have ever let me down!). Initially I was looking for something more of a satin-sheen grey, and was a little worried this silver was going to look a bit fancydress, but I think it's come out really well, adding just the right amount of pizazz to link up the silver collar tips to the buttons, to the white embroidery and the glammy beads in the matching skirt.

I enjoyed applying the piping. I was nervous, but with the use of the zipperfoot and the changeable needle position on my machine, I was able to get the stitch line really close to the er, pipe(?) and the result looks really effortless. The back was a little harder, as the back yoke is faced with another piece of fabric, and when you attach this you can't see the edge of the piping at all. The machine does a lot of the hard work though, with it naturally using the raised edge as a guide. At least it was a nice straight line- the front pieces did take a little more concentration to get around the curves, especially while trying to ensure complete symmetry!

I used the exact same linen to make the plain areas on the shirt as I used on the skort. I found out at hem time that linen hems curves like an absolute dream! The hem is quite curved at the side seams, and the new front tie piece I drafted also curved, but linen has magic powers and seemed to enjoy being told what to do.

It behaved nicely when attaching the collar too. I was slightly worried the interfacing in the collar and placket would make the shirt a little tooo sturdy and not relaxed enough, and it does feel a little more bulky than other shirts in my collection, but I think this was required to help support the weight of the heavier, embriodered yoke pieces. With a bit of wear any rigid areas will loosen up nicely.

I added bias binding to the arm holes and slipstitched this down by hand so the seam line wasn't visible from the inside. I managed to buy the exact amount of binding, down to the millimeter (hmm someone measured the raw edge of the arm hole not the stiching line before going to the shops....), which I think stressed me out a bit when attaching the second band and maybe caused me to stretch it into the arm hole more than I should have. The back armhole kicks out a little bit. I think this gape could have been avoided by taking a little more of the seam allowance off before attaching the binding (I took off 1cm, allowing for the 1.5cm seam allowance which would have been used if inserting the sleeve). I think due to the sturdiness of the fabric, when I first put the shirt on this gape was a little more noticeable than after I'd had it on all day on one of the hottest days of the year and the fabric had started to relax into my body.

I wondered if the buttons were a little understated against the jazzy silver binding, but there was nothing with any more character grabbing my attention at the market stall. Once they were on though, I thought they worked quite well with the yoke pieces, adding a bit of a nod to work-wear style (or practical wear for lassooing cattle on your ranch if that so happens to be your line of work).

The buttonhole function on my machine played nice, I had my heart in my throat as this was the final hurdle and arguably the one most likely to cause unreversable damage. It was essential the button at the bustline lined up exactly with the start point of the piping either side of the placket... the most central and visible area of the shirt! It was a pretty hot day in the studio, that got increasingly hotter during buttonholing! Hey, my fray-stop glue dried pretty quick though!

The shirt is a winner. I had toyed with the idea of making the back piece shorter so there was less fabric to accomodate when the front is knotted, but in the end I kept the length, as when the front is not knotted, the shirt can still be tucked into jeans and function as something slightly more formal. The additional length I added to the front for ties also doesn't look too weird if I'm wearing it buttoned up and untucked either. Options!


I had enough Vinted fabric left over for panels of some kind, and with this Aztec-type embroidery, it made sense to utilise it as a statement yoke on a cowboy-style shirt. With no front-yoke or piping expertise in my arsenal, I knew I needed the help of a good pattern. I chose the McCalls M7980 as I have good experience in the past using McCalls shirt patters, and this one had the double whammy of being both suitible for men or women. I got the pattern for my birthday and began tracing it off soon after (wehay for Birthday annual leave).

Once I'd traced the pattern pieces, I thought it a good idea to compare the size to a shirt pattern that I know fits well. Come to the stage M7575, my trusty old friend. What became very obvious straight away was the M7980 was much larger, and featured no bust darts. The plan all along was to knot up the front at the waist so it sat cropped on me, and the extra length would be helpful for this, but the bagginess would lead to likely gaping arm holes (I planned to finish the arm holes with bias-binding instead of inserting sleeve so that I could be sleeveless as planned).
The resolution for me was clear, I would cut the M7575 pattern, omit the sleeves, draft front yoke pieces by using the M7980 as reference, and extend the front piece so that the placket could be better tied at the waist. Without any real plan for how long to extend the placket, I made the shirt front pattern piece 10cm longer, adding a curve to omit extra fabric and make more of a tie-shape. I extended the placket pattern piece by 10cm to match this, and will admit it was by total fluke that the front piece of the shirt graded out to a point so nicely.

I made a slight change to the collar piece, making the collar points a little more, er pointy. I have had these collar tips in my stash for how long?! Feels good to finally install them onto a well-deserving shirt.

All my life, I have thought that the front yoke on a cowboy shirt was attached to the bottom half (like a traditional back-yoke) of the shirt via a seam, NOT that it was a piece installed over the top like a patch. It all makes perfect sense now after thinking about it, and reading some hand hints on the Sneum Shirts Website, which explained the yoke was to reinforce and add durability to the areas of the shirt likely to get worn out when yipikaye-ing your way around the wildwest on horseback.

So with yoke pieces cut perfectly symmetrically (utilising the centre back seam of the origanal skirt on the back yoke piece), it was time to investigate something else new to me: Piping.

I bought this silvery piping from my go-to stall at the Sheffield Market (is there nothing they don't have?! I don't think they have ever let me down!). Initially I was looking for something more of a satin-sheen grey, and was a little worried this silver was going to look a bit fancydress, but I think it's come out really well, adding just the right amount of pizazz to link up the silver collar tips to the buttons, to the white embroidery and the glammy beads in the matching skirt.

I enjoyed applying the piping. I was nervous, but with the use of the zipperfoot and the changeable needle position on my machine, I was able to get the stitch line really close to the er, pipe(?) and the result looks really effortless. The back was a little harder, as the back yoke is faced with another piece of fabric, and when you attach this you can't see the edge of the piping at all. The machine does a lot of the hard work though, with it naturally using the raised edge as a guide. At least it was a nice straight line- the front pieces did take a little more concentration to get around the curves, especially while trying to ensure complete symmetry!

I used the exact same linen to make the plain areas on the shirt as I used on the skort. I found out at hem time that linen hems curves like an absolute dream! The hem is quite curved at the side seams, and the new front tie piece I drafted also curved, but linen has magic powers and seemed to enjoy being told what to do.

It behaved nicely when attaching the collar too. I was slightly worried the interfacing in the collar and placket would make the shirt a little tooo sturdy and not relaxed enough, and it does feel a little more bulky than other shirts in my collection, but I think this was required to help support the weight of the heavier, embriodered yoke pieces. With a bit of wear any rigid areas will loosen up nicely.

I added bias binding to the arm holes and slipstitched this down by hand so the seam line wasn't visible from the inside. I managed to buy the exact amount of binding, down to the millimeter (hmm someone measured the raw edge of the arm hole not the stiching line before going to the shops....), which I think stressed me out a bit when attaching the second band and maybe caused me to stretch it into the arm hole more than I should have. The back armhole kicks out a little bit. I think this gape could have been avoided by taking a little more of the seam allowance off before attaching the binding (I took off 1cm, allowing for the 1.5cm seam allowance which would have been used if inserting the sleeve). I think due to the sturdiness of the fabric, when I first put the shirt on this gape was a little more noticeable than after I'd had it on all day on one of the hottest days of the year and the fabric had started to relax into my body.

I wondered if the buttons were a little understated against the jazzy silver binding, but there was nothing with any more character grabbing my attention at the market stall. Once they were on though, I thought they worked quite well with the yoke pieces, adding a bit of a nod to work-wear style (or practical wear for lassooing cattle on your ranch if that so happens to be your line of work).

The buttonhole function on my machine played nice, I had my heart in my throat as this was the final hurdle and arguably the one most likely to cause unreversable damage. It was essential the button at the bustline lined up exactly with the start point of the piping either side of the placket... the most central and visible area of the shirt! It was a pretty hot day in the studio, that got increasingly hotter during buttonholing! Hey, my fray-stop glue dried pretty quick though!

The shirt is a winner. I had toyed with the idea of making the back piece shorter so there was less fabric to accomodate when the front is knotted, but in the end I kept the length, as when the front is not knotted, the shirt can still be tucked into jeans and function as something slightly more formal. The additional length I added to the front for ties also doesn't look too weird if I'm wearing it buttoned up and untucked either. Options!

I was absolutely delighted to get this combo all stitched up before the Chris Isaak gig in Manchester this July. The man himself is known for his western style tremolo and his fantastic suits, so it absolutely made sense to debut the two-piece at his show. It seemed to do the trick - I was invited up to dance on stage with him for Baby Did a Bad Bad Thing!!! He is my ultimate fave, so it was a total honour to dance with the king in a me-made that had so much 'me' and considered design in it. Check out the Youtubes below and see if you can spot me!
x
Location: Holme Lane, Sheffield
Currently listening to: Loser, Tame Impala
Currently listening to: Loser, Tame Impala

.jpg)


.jpg)