Showing posts with label Pipe Dream Patterns. Show all posts

Sunday, 20 June 2021

Pipe Dream Patterns, Eilidh Dress V2

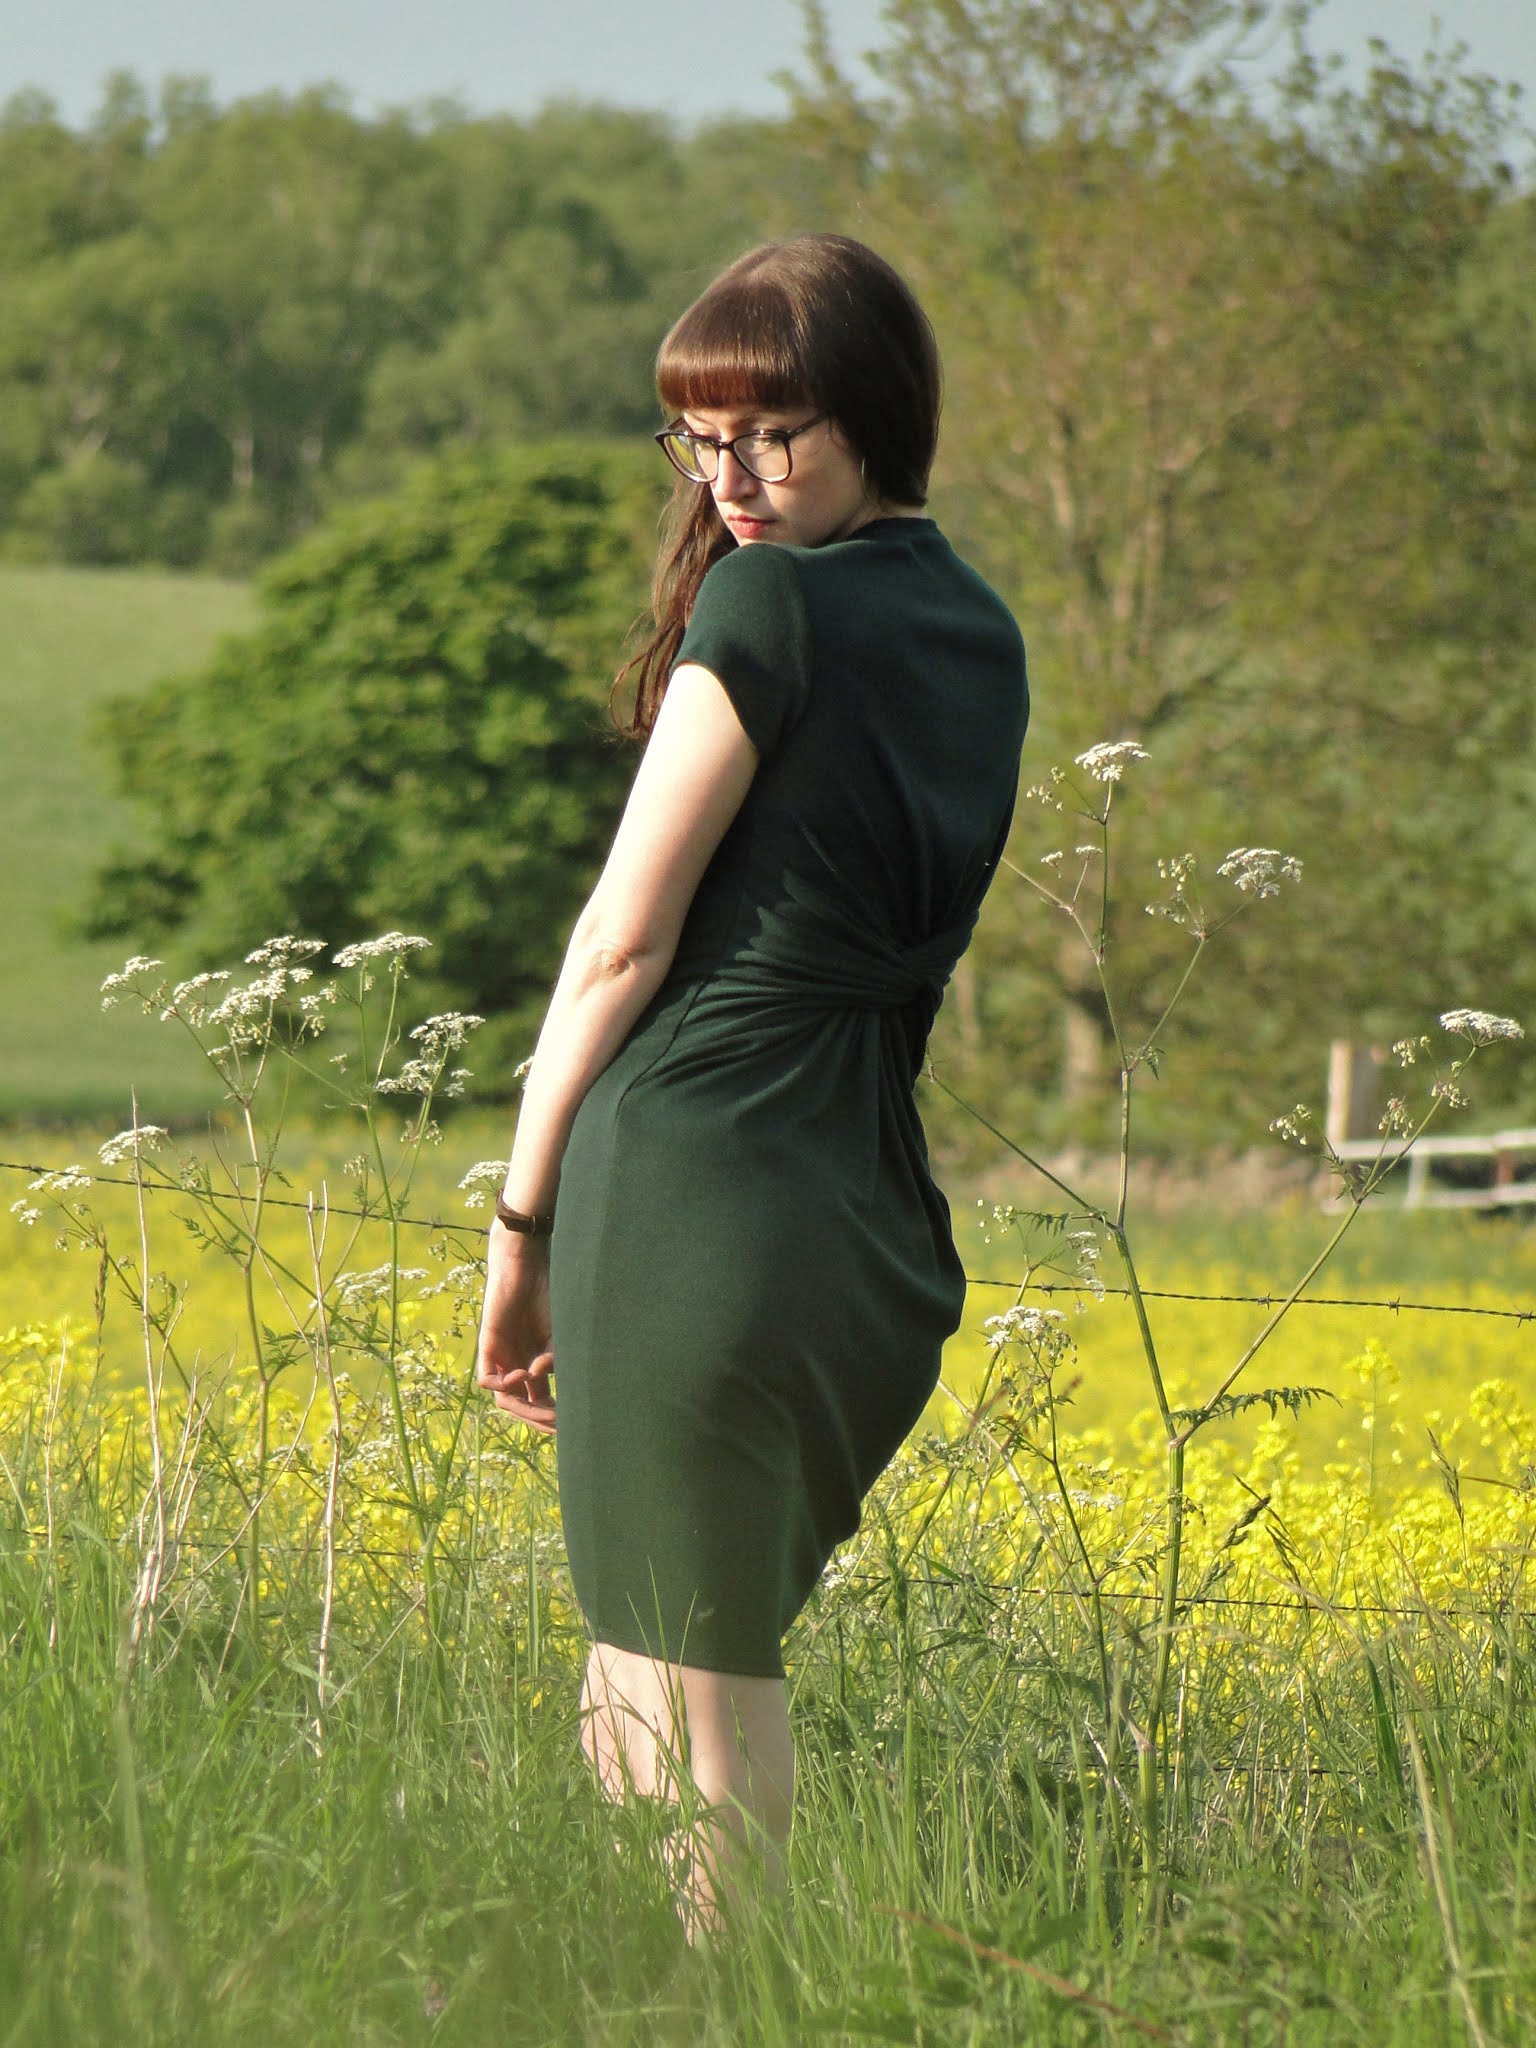
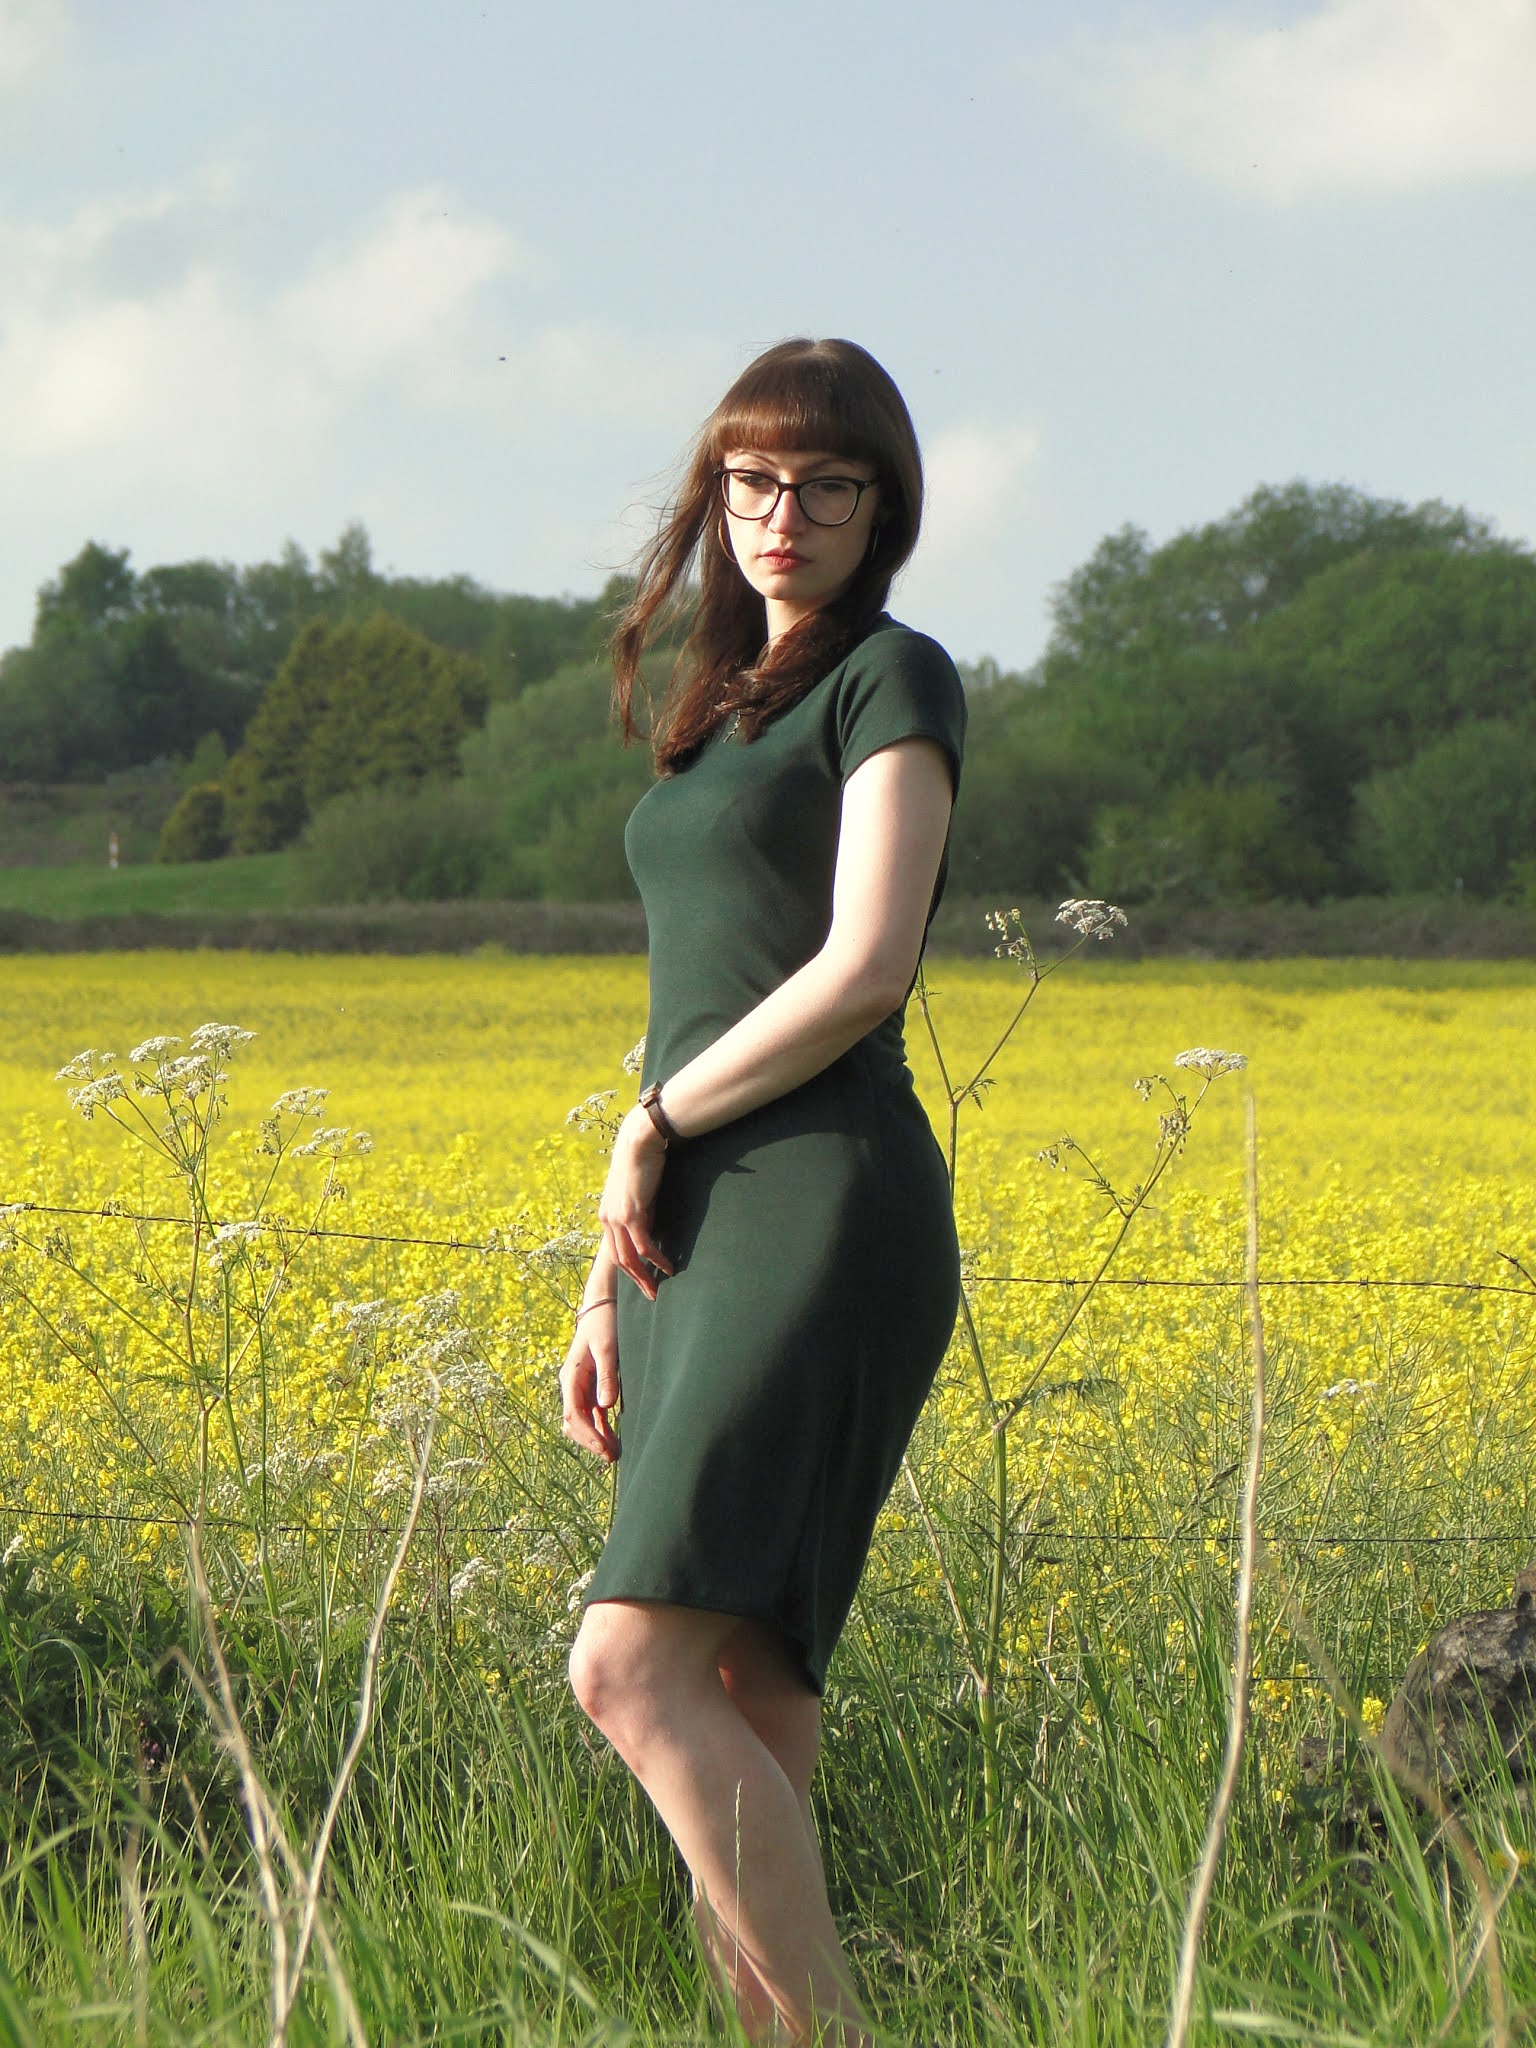
It was actually version 2 of the Eilidh dress that first grabbed my attention on @SeeminglyImmaterial's instagram feed. The twist in the back acts like a knot, pulling in at the waistline and accentuating the waist and hips. This makes the simple front look really classic and elegant. In fact just wearing the dress I feel the slight pressure of the knot really helps me consider my posture too, standing tall with shoulders back and abs pulled in.


The fabric was a lucky end-of-roll find in hillsborough fine Fabrics the weekend after they opened up post-lockdown.


"That's proper jersey that is!" said the shop-man. Sure is! It stretched beautifully and had an air of 'I won't go bobbly' about it. There was just less on the roll than the pattern suggested but I thought with a bit og careful cutting and my on the spot decision to make the short sleeve version I could make it work.


As my Version 1 Eilidh fitted so well I cut a straight medium for hersion 2 too, with hopes that it wouldn't be too big in the bust - and if it was that it would be fixable with a bit of clever seam allowance editing (the joys of jersey!).


The back pattern pieces are such a funny shape, it's hard to visualise how the back twist works until you start playing with it. Using a fabric that's the same on both sides definitely poses construction confusion, so I would recommend marking the wrong side however you can before you start twisting!
Once you've worked out the seams in the back (amazing how that funny little half moon becomes the waist to hip seam!!!!) it's all pretty simple assembledge. Sholders (reiniforded with a little interfacing), side seams, try on, sleeves, alterations (I increased the seam allowance from the hem up on each side by 1.5cm {so 2x 3cm smaller all round} then tapered to nothing at the waistline), then the sleeves (I inserted them with a 1.5cm seam allowance as the shoulders were looking a little bit too wide), then neckband. 

The pattern piece for the neckband is for the scoopback vesion of the dress, so the high back version is like, half the length. There aren't really any instrucions on how to attach the neckband so relies on the maker having a bit of prior knowledge. I attached with a zig-zag seam, possibly the most beautiful neckband I have ever seam, then took it off the ,achine to find I'd attached it back to front!!!!! I was SO glad that I hadn't overlocked this!! All because I was a bit too lazy to put green spools on my overlocker aha! I was able to unpick and reattched in relatively little time and without there being any lasting evidence of my silly mistake. It's almost as neat as my first shot haha! 


I finished the neckband with a really narrow zig zag top stitch to hold the band in place and stop the inside from flipping out.
Hem with a twin needle + fin!


These Eilidh patterns but Pipe Dream patterns are so beautifully designed. I absolutely adore the fit of both of the dresses and the way they both lend themselves to being totally customisable to any kinds of jersey to create completely different dresses for different occasions. The design is clever and eyecatching, emitting the perfect amount of sass and glamour to make for the perfect occasion dress. 


What other Pipe Dream patterns have you guys used? I've spied some super cute jackets and pinafores on the website...

x
Location: Loxley, Sheffield
Currently Listening to: Living Dead, Marina and The Diamonds

Sunday, 4 April 2021

Pipe Dream Patterns, Eilidh Dress

This is my second pattern of my 2021 make 9! I feel like lockdown has really affected my sewing pace- which I originally thought was a bad thing, but has proved that more time planning while I wait for supplies to arrive etc has really allowed me to think things through and give me time to better plan projects.

When my fabric arrived my pattern was traced, I'd perused the instructions, I'd assembled the mini version of the dress inculded in the pattern so I could envision the twist. I opted for the high back version as I thought fitting would be easier (no sliding shoulders!) and it would be wearable for more occasions. The feeling of being prepared is SO blissful! I hadn't made a toile of this pattern due to my stash being short on stretch fabrics, but I'd ordered enough of this burgundy rib knit to cut out more than one attempt if I needed.


Being so prepared gave me the freedom to be a bit more playful and less time conscoius when making adjustments. The main pattern change I made was adjusting the shoulders. The big issue from start to finish was that the fabric is SO stretchy, the front twist really weighed down the centre front. I took quite a wedge out of the front shoulders (leaving the back piece untouched) and reshaped the front armhole. I reinforced the shoulder seams with a strip of interfacting to stop them from stretchig out of shape too. Next time I will definitely shorten the bodice along the shorten/lengthen line on the pattern, but by how much is going to be really dependant on how stretchy my next fabric choice is. 
Once I was as happy as I could be with the shoulders I moved to shaping the the centre back seam. This was super satisfying - just pinning down the centreback seam, pinching in around my lower back to accentuate the curve. After pinning I chose to close up the back vent as the stretch made it quite unnecessary, and I was quite keen in my knee poking out of the front slit instead. For sturdier stretch fabrics I think the vent will look really class so looking forward to having a go at it next time.
The pattern is designed with 1cm seam allowance, which I mainly followed, but changed to 1.5cm on the sleeve seams, tapering to about 3cm at the top. I matched this at the top of the side seams, grading back out to the waist. The wonders of stretch fabrics eh!
I added a few extra stitches to the waist seam eiter side of the twist as there was a tiny flesh-flashing gap on one side! I then stitched two short sections along the centre front above and below the twist to keep myself from flashing anything else! This seam gets engulfed by the twist leaving the front section still really fluid. 
I was vey lax when it came to hemming. I'll admit I was terrified that running the rib fabric through the machine would stretch out the sleeves, even using the plastic presser foot and a stretch stitch. The pattern suggests leaving the front neck unhemmed as it just kind of rolls under itself, so I just adopted this idea and left the sleeves and bottom unhemmed.
The moment I tried this dress on (even before I'd put the sleeves in) I knew I was totally in love with it. The fit, the length, the colour, the leg and the neckline!!!! They all looked so film noir but still also really modern. Making it was realtively easy, with the biggest challenge probably being my choice of fabric - so stretchy in all directions!! This dress will definitely be my go-to with the nect stretch fabric I fall in love with ❤️️❤️️❤️️❤️️❤️️❤️️❤️️

x 
Location: Domo, Little Kelham
Currently listening to: Ant Music, Adam and The Ants