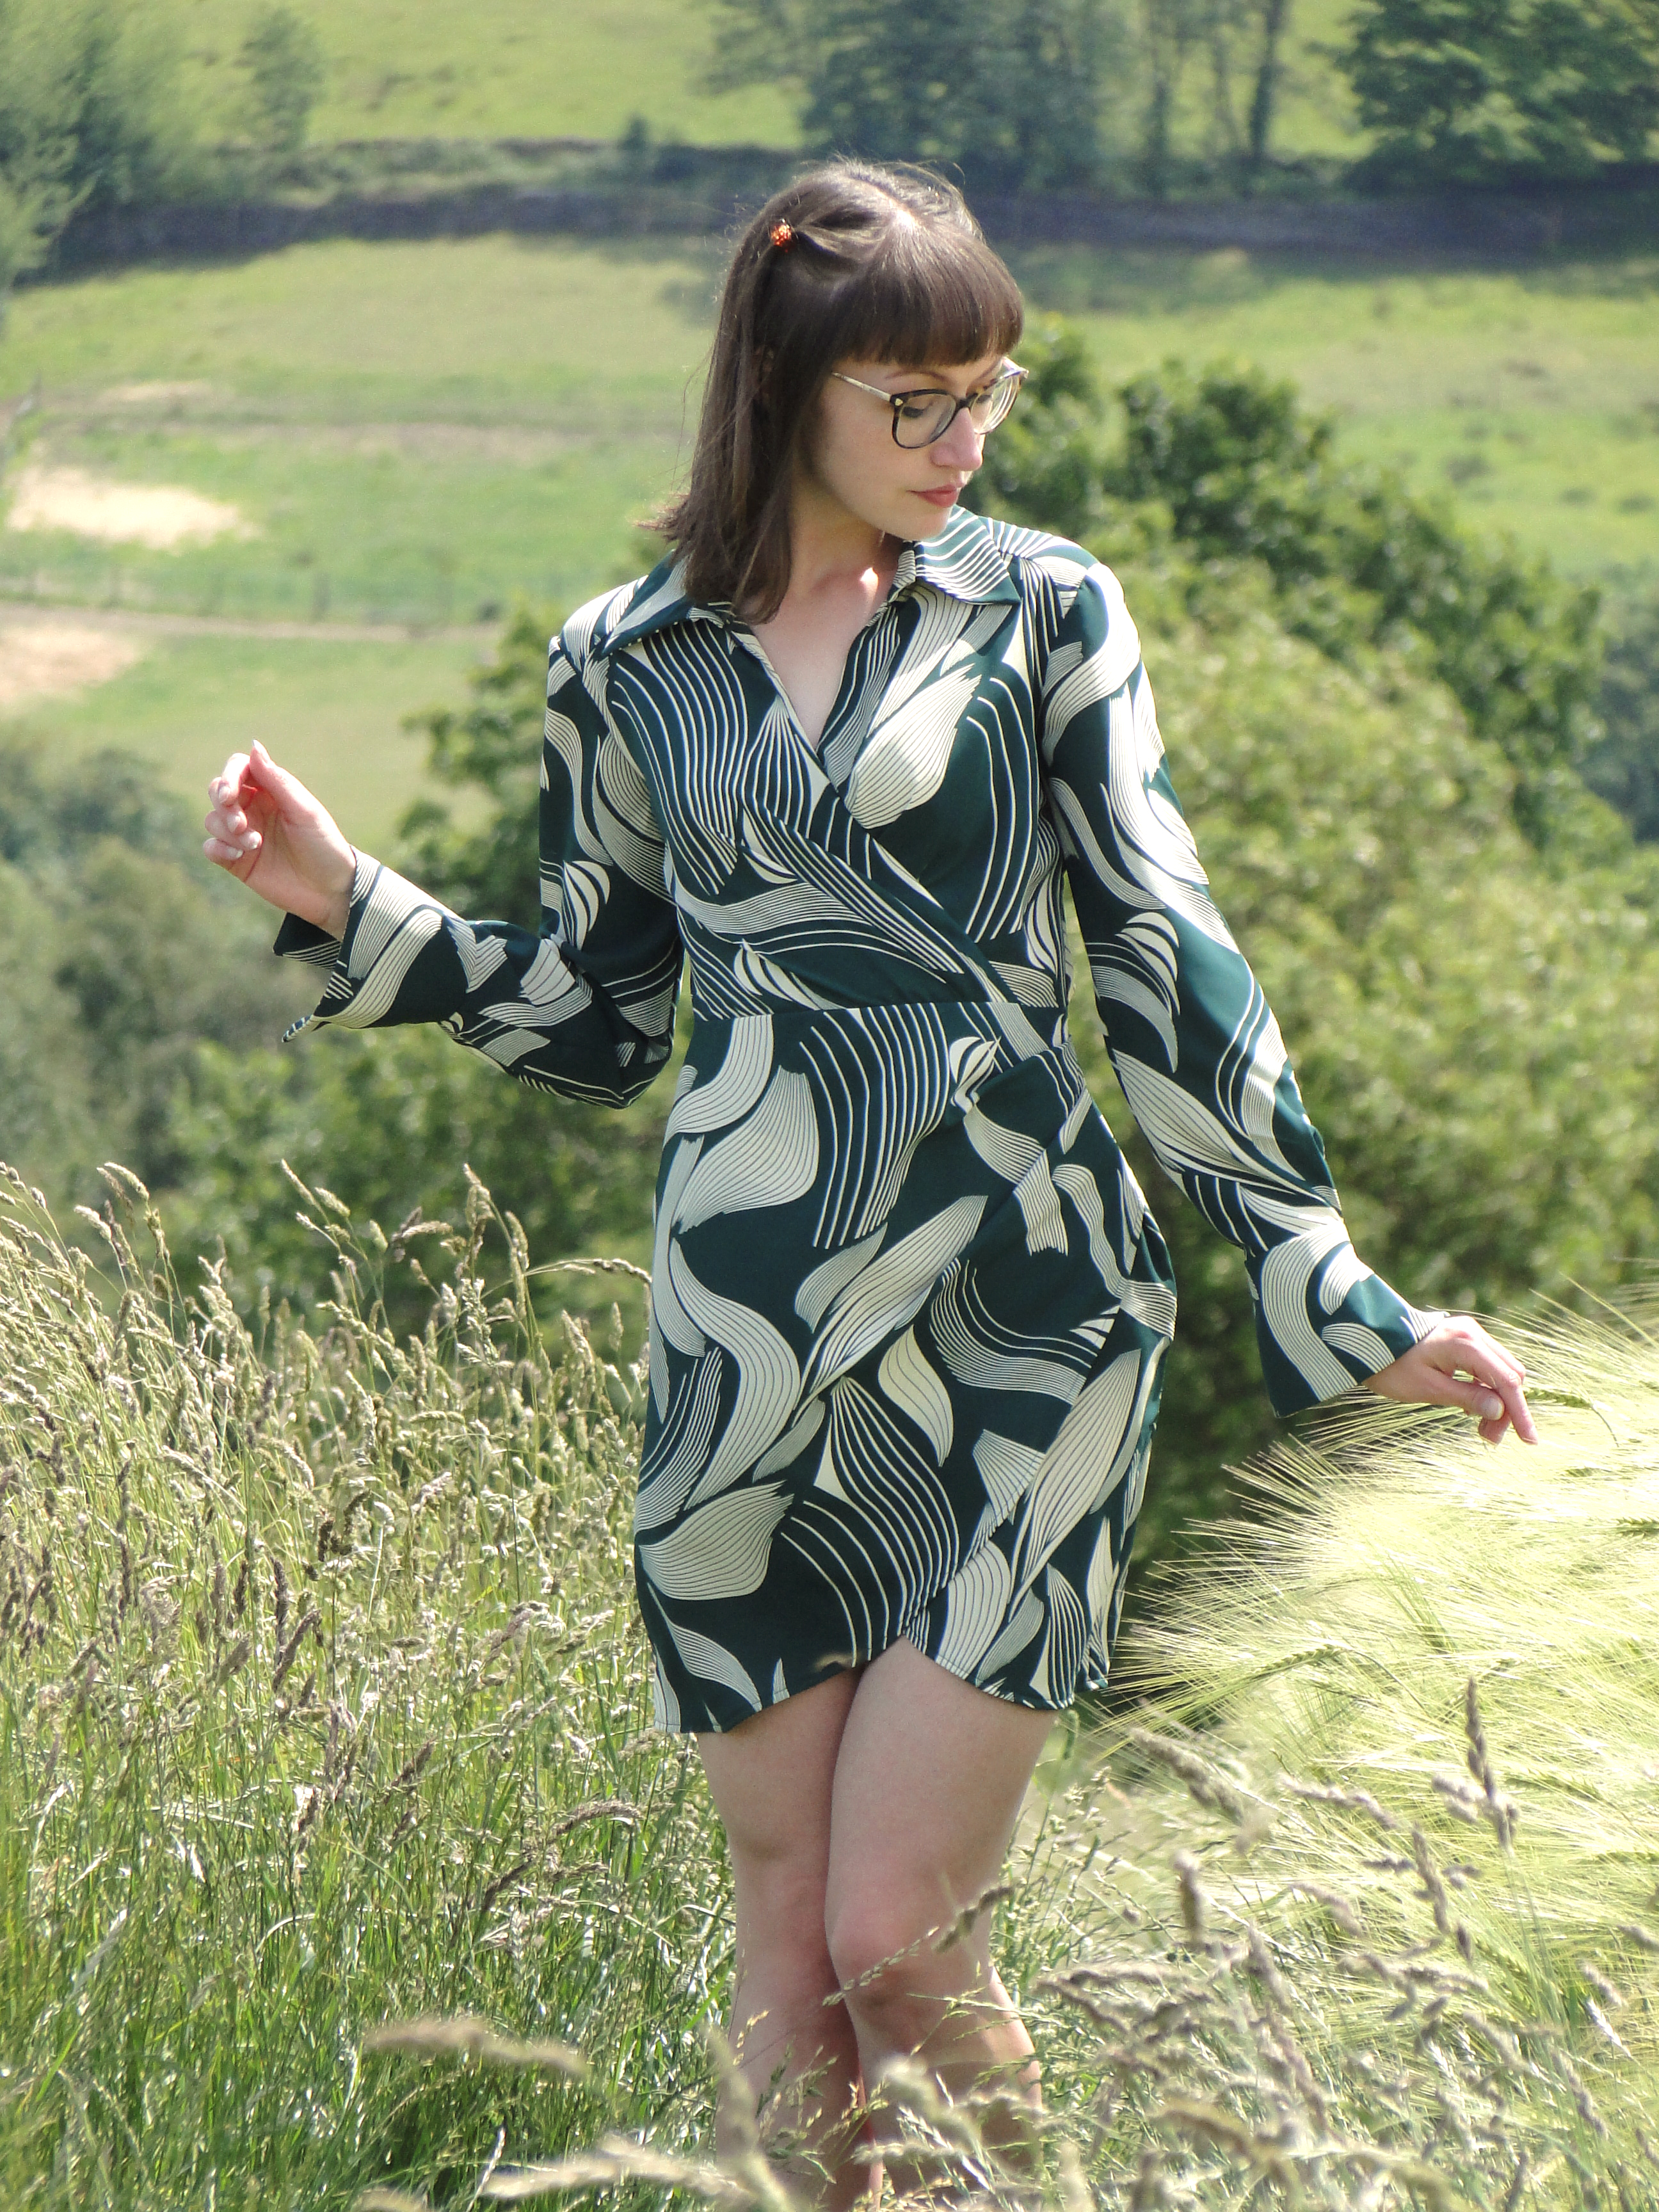
The Sylvie Dress was my first Vikisews pattern. I was attracted to its shirt-style collar, shapely cuffs and crossover skirt. What almost put me off was the crossover top, as historically crossovers have always resulted in a fail when it came to fitting due to my small bust. Every crossover top pattern I've ever looked at has gaped like hell and risked flashing anyone within a 100m radius.
So what was different this time? Well after making some successful fitting alterations on a few tops and toiles over the past couple of years, I was certainly feeling more confident. I also recognised the loose fit of the top of the dress allowed for a certian amount of play when fitting. The pattern was well illustrated and I was excited to find after downloading the instructions, that the steps were clear and it also instructed when the best time to overlock the edges was.
I made a toile from an old bedsheet, orignially cutting the bottom a size up from the top, and grading out at the waist for the two pieces to join.
The overall fit wasn't bad, but the top looked really roomy, as predicted, and I coulf pinch a good chunk out of the neckline. The top is gathered around the front and back waist, which added loads of extra fabric into the front. I found that the amount I pinched out was equal to the amount I added in to grade the two sizes together! So that came back off immediately, and that allowed for the gathers to be omitted from the front pieces, therefore making the top less balloony. Vikisews uses a 1cm seam allowance, but I increased this to 1.5cm from the underarm to the elbow on the sleeve pieces as they were also a little too spacious.
With the chunks from the neckline pinned out, I could see that if I increased the seam allowance where the front met the yoke at the shoulder, the fabric would sit much more comfortably over my bust and to my waist. Although it sounds like I took out a lot of fabric, the dress is still a loose fit and definitely doesn't feel too tight in any way.
The skirt is a lovely shape, I adore the pleat at the side that allows for the lovely fabric drape effect. This compliments the pleats at the underbust really well. I made no adjustments to the fit of the skirt. I was particularly happy with the dart length in the back.
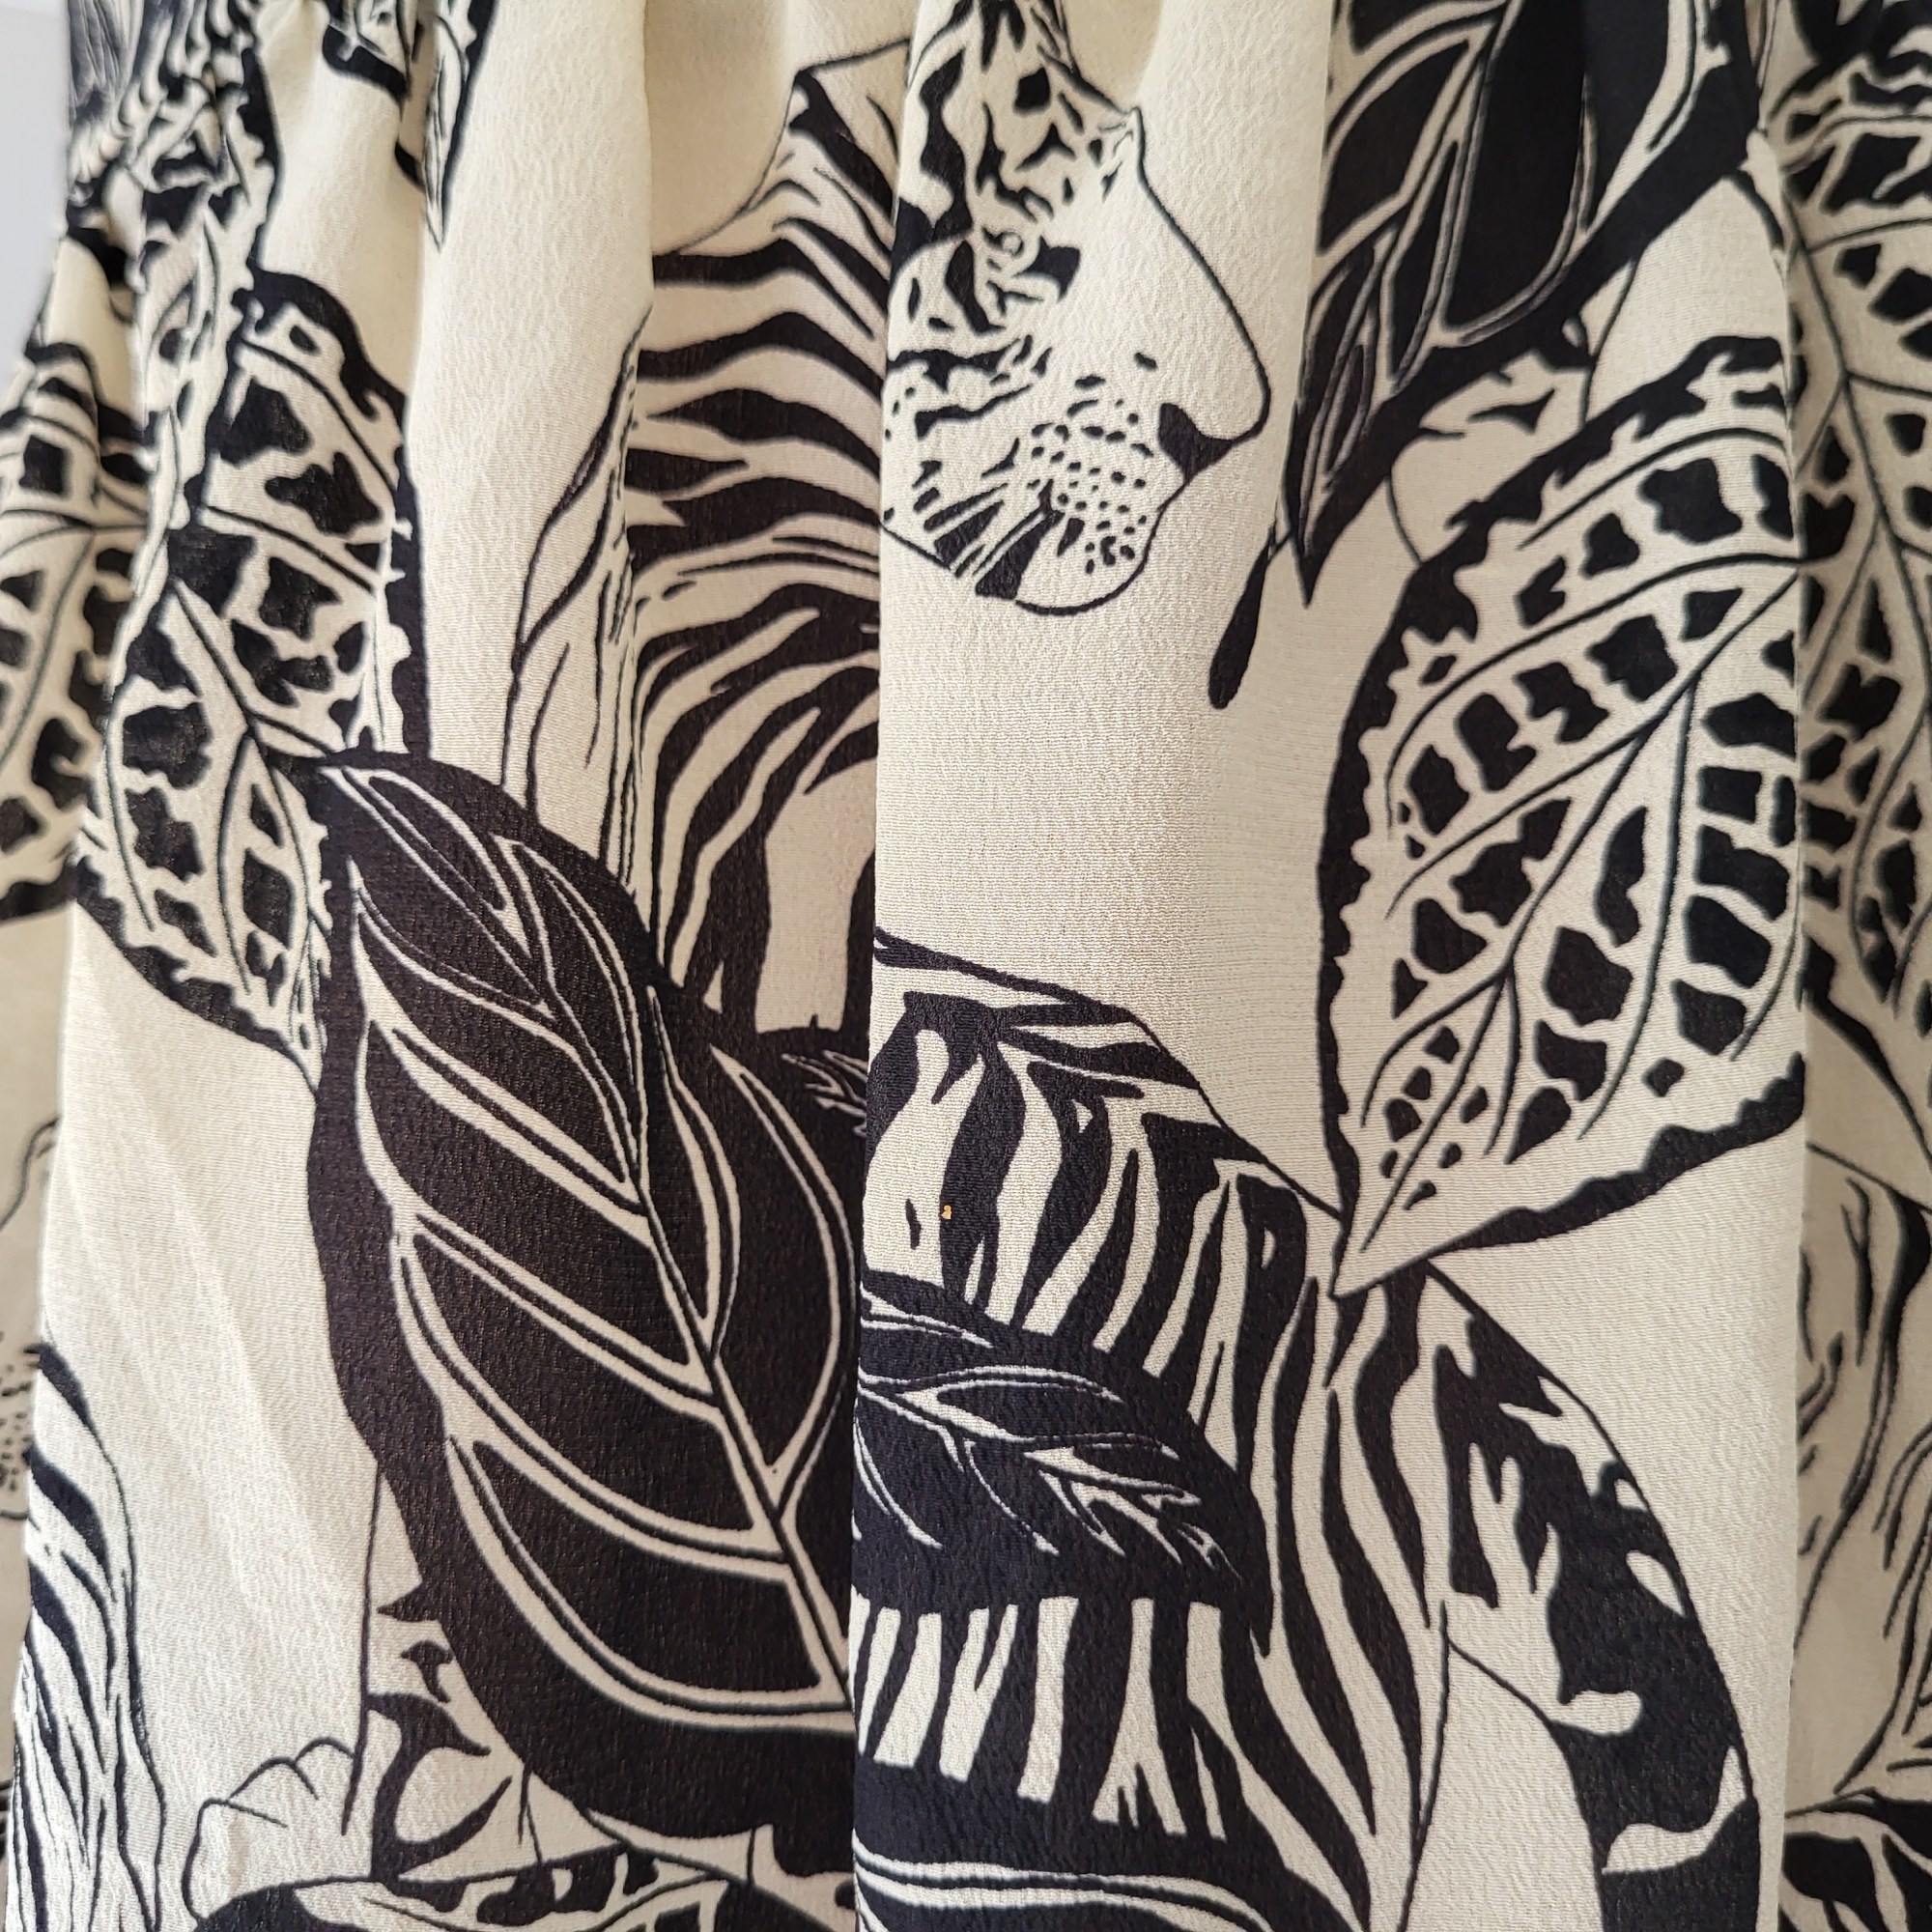
I had my eye out in Berlin for some fabric to bring back. We found an epic looking fabric shop but sadly it was closed for the bank holiday on the day we were passing. There was 'Stoffe' shop we visited that had a good variety, I was particularly keen on a green and white summer style fabric they had but at the time I didn't know how much fabric I would need or how I would get it home.
For my annual birthday-trip to Hillsborough Fabrics with my mom, we found this lovely green and white fabric that reminds me of that in Berlin! Discussing with Jen, my internet sewing freind in Arizona, I think the fabric is a rayon? It drapes really well anyway, has absolutely zero weight to it and barely creases. It is super super static though so that is one thing to be aware of. The fabric had less body that the old sheet I made my toile out of, but I still wanted to go ahead, and also hoped that more drape would mean the top would look more shimmy than boxy if it was still a little roomy in places.

As I mentioned before, the instructions are really thorough and well crafted. The steps to ensure stability and a neat finish are all really clear. Following these steps definitely allowed for me to create the tidiest collar I have ever made. With the instructions leading me, I also went ahead and used 'burrito' method to attach the yoke and the 'stitch in the ditch' method to secure the underside of the collar and cuffs instead of slipstitching by hand as I usually would.
The placket is created by securing a neckline facing to the inside, however I thought the neckline would look more chic without the rows of stitching in the front securing the placket, so I kept this strictly as a facing. I was also worried that securing down would interfere with the bust pleats. I'm surprised more people online haven't dont the the same as I think it does make for a really lush neckline.
Let's talk about overlocking with rayon. I would describe this fabric as
bendy. A little bit slippery and not in the least bit keen to be pulled through the churning and chopping of the overlocker. I have used tissue paper as a backing when using the normal sewing machine with thin fabrics and lace, but I have never used it on the overlocker. The desired effect was reached- the tissue paper eases the fabric through the machine, making sure stitches are even, the knife cuts smoothly, and the curves of my skirt pieces weren't compromised. What it also meant, was that I would have to spend a painful amount of time using tweezers to pull out scraps of tissue paper from inbetween stitches. This was one of the reasons I hadn't overlocked using paper before BUT it was so effective and saved what I imagine would have been floods of tears, recutting skirt pieces and cheating with a zig zag stitch. I certainly refined my tweezing approch by the time the dress was done!
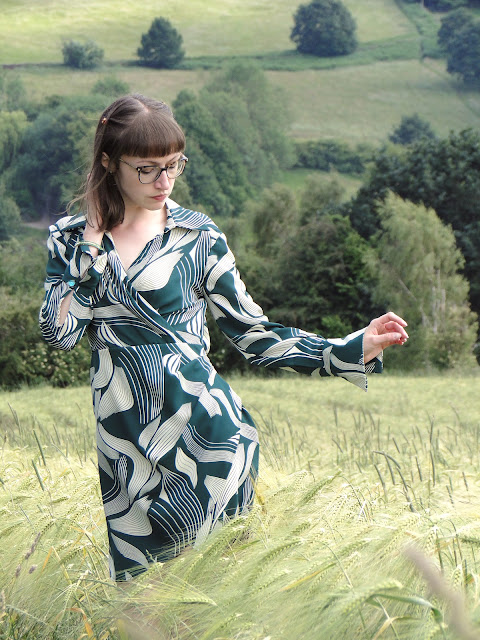
Changing the front piece where it joined the yoke meant that I needed to take out the same amount from the front sleeve to sense they still fit in the arm holes. Usually the back sleeve has more fabric in it than the front but this didn't seem to evident on the pattern piece, so this convinced me that I had made the right decision. I hadn't tested the new sleeve shape on my toile as I was pursaded by my logic that this was the right thing to do. There was a slight bit of fear that the sleeve head would be too tight for movement if I took too much out - but I am realllly happy with this alteration! I have full movement of my arms but they don't feel too baggy.

I'm happy with the way my front pleats hang- my first attempt however did leave my in massive doubt. They hung sloppily and lost all their shape and for a moment I was convinced crossovers and me were never meant to be. I unpicked and restitched the pleats. Although they looked fine flat, I thought there was more I could do to ensure they held the correct shape. I pressed all the fold lines of each pleat before re-tacking them and stitching them down into the waist seam. I was so pleased that this made all the difference. I learned always press your pleats before even pinning them!

The cuffs were a big draw for me - The instructions taught me pressing magic that somehow 12 years into sewing I was yet to discover. The result was a pair of really crisp looking cuffs, wonderfully understitched, neatly attached to the sleeve and with cute (equal shaped!) button loops. The buttons were a lucky find in the stash from my Gran's old sewing stuff. I love the quirky shape, and they were in a 2 already so I didn't feel like a I was depriving a future shirt from a full set of buttons by pinching 2 for this project.
I cut no corners with this dress and I think it shows. There were only a few areas I stumbled on that I thought the pattern could have improved on:
1- Not using double notches in the back of the sleeve head? This made it a little tricky to know fore sure you'd got the sleeves in the right side
2- Placing the front pieces in the right place to ensure the correct crossover. I think this was a fluke as mcuh as anything, as I lost what notch was meant to be matching what. I'm not sure if this was because I was grading between 2 sizes / because I took some fabric from the side seams? I also had to double, triple check that I had the correct front piece on the top and correct front piece on the bottom - easy to get in a twist here!
3- The zipper. The pattern calls for an invisible zip, but the instructions to insert it just seem to use a regular zip foot? I wasn't sure how possible it was to insert an invisible zip the normal way if the top and the bottom of the seam already sewn? I had to do some Googling, and though no one else seemed to be asking the same question, I did find out that sewing it with the regular zipfoot to keep it in place before securing close to the zip teeth helped keep the ends right where they needed to be, making the start and finish of the seam look, well, seamless.
4- PDF instructions in a paid-for 3D pattern- How do we feel about that? As much as I did like not having another piece of paper floating around on the studio floor, one of the things I love about sewing is how it gives me time to ignore my phone. I found it slightly difficult to stay distraction-free when I was checking the instructions on my phone all the time, but this was probably made up for by the ease of picking up where I left off each time I opened the PDF, and the ease of a little light reading of the pattern before bed to see what tomorrow had in store.

My least favourite part of the construction was probably the sleeve binding. The thin little strip of fabric has to be attached with minimal seam allowance to the fraying slit (note to self - name of my next punk band right there). Its fiddly, the bias strip is bouncy and stetchy and getting twisty with each attempt! But! I managed it and with my new 'stitch in the ditch' confidence, I feel like these sleeve bindings are more secure than any I have sewn before.
The attention to detail in this pattern, the cut, the style and the slickness of the instructions make for a super satisfying make. I am absolutely in love with this dress! I am really excited to venture into more of Viki's patterns if they are all as well crafted as this one.
x
Location: Stannington
Currently listening to: Talking in My Sleep, The Slims