
I had less fabric than the pattern packet suggested using, but feeling very drawn towards having sleeves in my top I thought I would wing it. I didn't cut anything out on the fold- instead cutting around each pattern piece then folding over to get a mirror image to get an exact other half. For pattern matching purposes this was very helpful. It's a bit more faff, but made sure I got the most out of my fabric. There was very little left over so for once I felt very economical!

I think following a pattern to make something fitted out of jersey can sometimes be a bit of a gamble. I mean, there's jersey and there's jersey, and it's not all as stretchy as the next, so figuring out what size pattern to cut can be a bit tricky.
I did a quick up to date measure up and found I sized out to be a 12 on the packet sizing chart. I'm not too used to cutting the largest size on the pattern so something immediately didn't seem quite right! My bust size was 34" (yeah okay, padded bra whatever), and it said actual size of cutting a 12 would be 33", so taking in to account stretch it sounded about right.
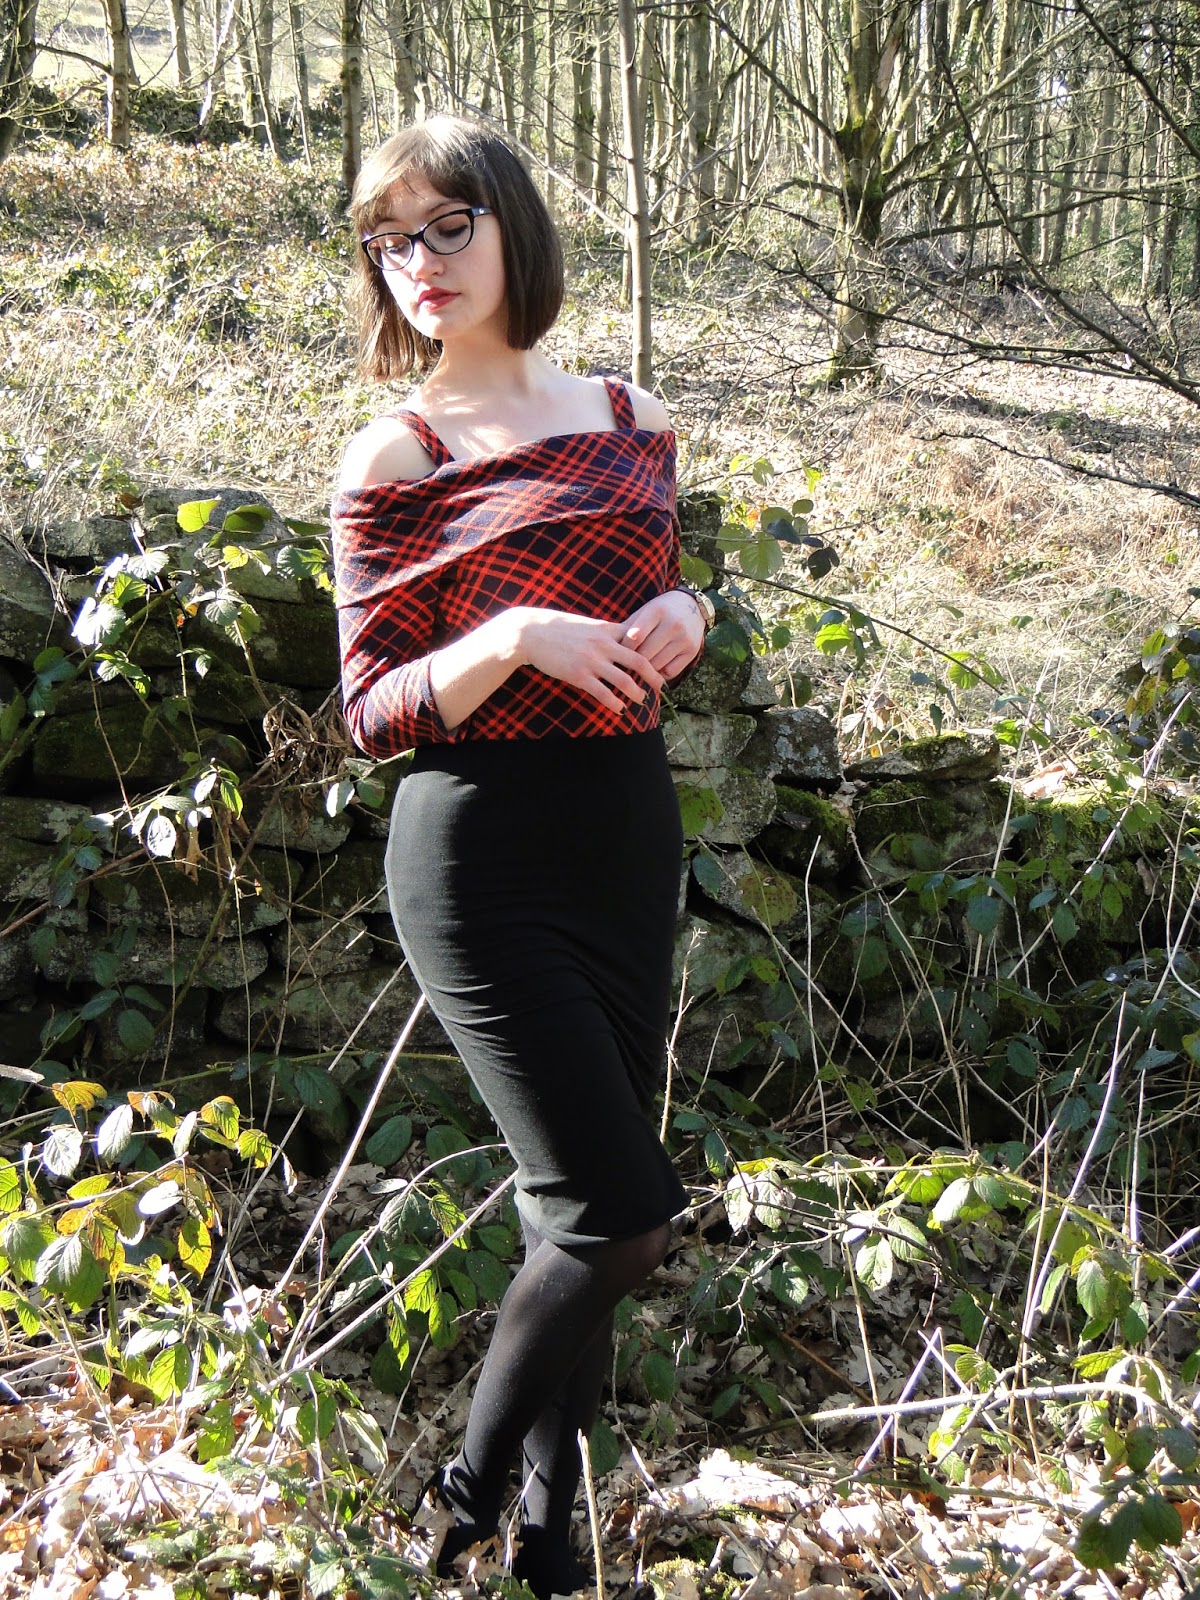
Step one on the pattern is to stitch together the side seams, then insert the sleeves. Like the problem I faced when making my Crab Dress, there are no shoulders in the garment until later, so testing the fit as we went along was difficult. After pinning together it seemed obvious though that the top was going to be too baggy so I made each side seam allowance 2cm instead of 1.5cm.

After stitching these, it seemed clear that the lower back was still a bit baggy- which I'm finding to be a common problem. I took a little more in at the waist which improved things.
As I had sewn side seams at 2cm s/a, I started the sleeve s/a at 2cm and tapered to 1.5cm. This meant that the sleeves fit happily into the arm holes.

At this point it was slightly easier to try on. Although it was hard to keep it where it should be, it was really obvious there was too much room in the shoulder area. The arms were baggy and the bust area was too! At this point I was feeling a little disgruntled! I took a plunge and stitched the sleeves with a further 1cm seam allowance- therefore taking the shoulders in by 4cm. I did the same on the sleeves to the waist where I had already taken some in and finally it looked like we were getting somewhere!

I knew already that the band was going to be much too long so I measured my adjusted neck/shoulder circumference and cut down the band to match- making sure the pattern of the fabric still lined up with the centre front. From here on I had no more problems with fitting.
I was in two minds as to whether the neckline needed the elastic band inserting. For now it stays, but being pretty stretchy anyway, plus having straps, I didn't seem to have any problems with the top staying up and think the band possibly adds a little extra unnecessary bulk... Probably going to whip it out at some point in hope it makes the neckline a little more relaxed.

Currently listening to: Spanish Caravan, The Doors
Location: Hagg Lane, Rivelin Valley
No comments:
Post a Comment