

With this in mind I decided to also use the power mesh as a lining for the bra. To do this I cut all the pieces from the mesh (two back pieces - one for inside, one for out) as well as the front and bottom band pieces from the orange jersey. I hand tacked my two front layers, back mesh pieces and the 2 underband layers together so I could handle each piece as one when assembling the bra.
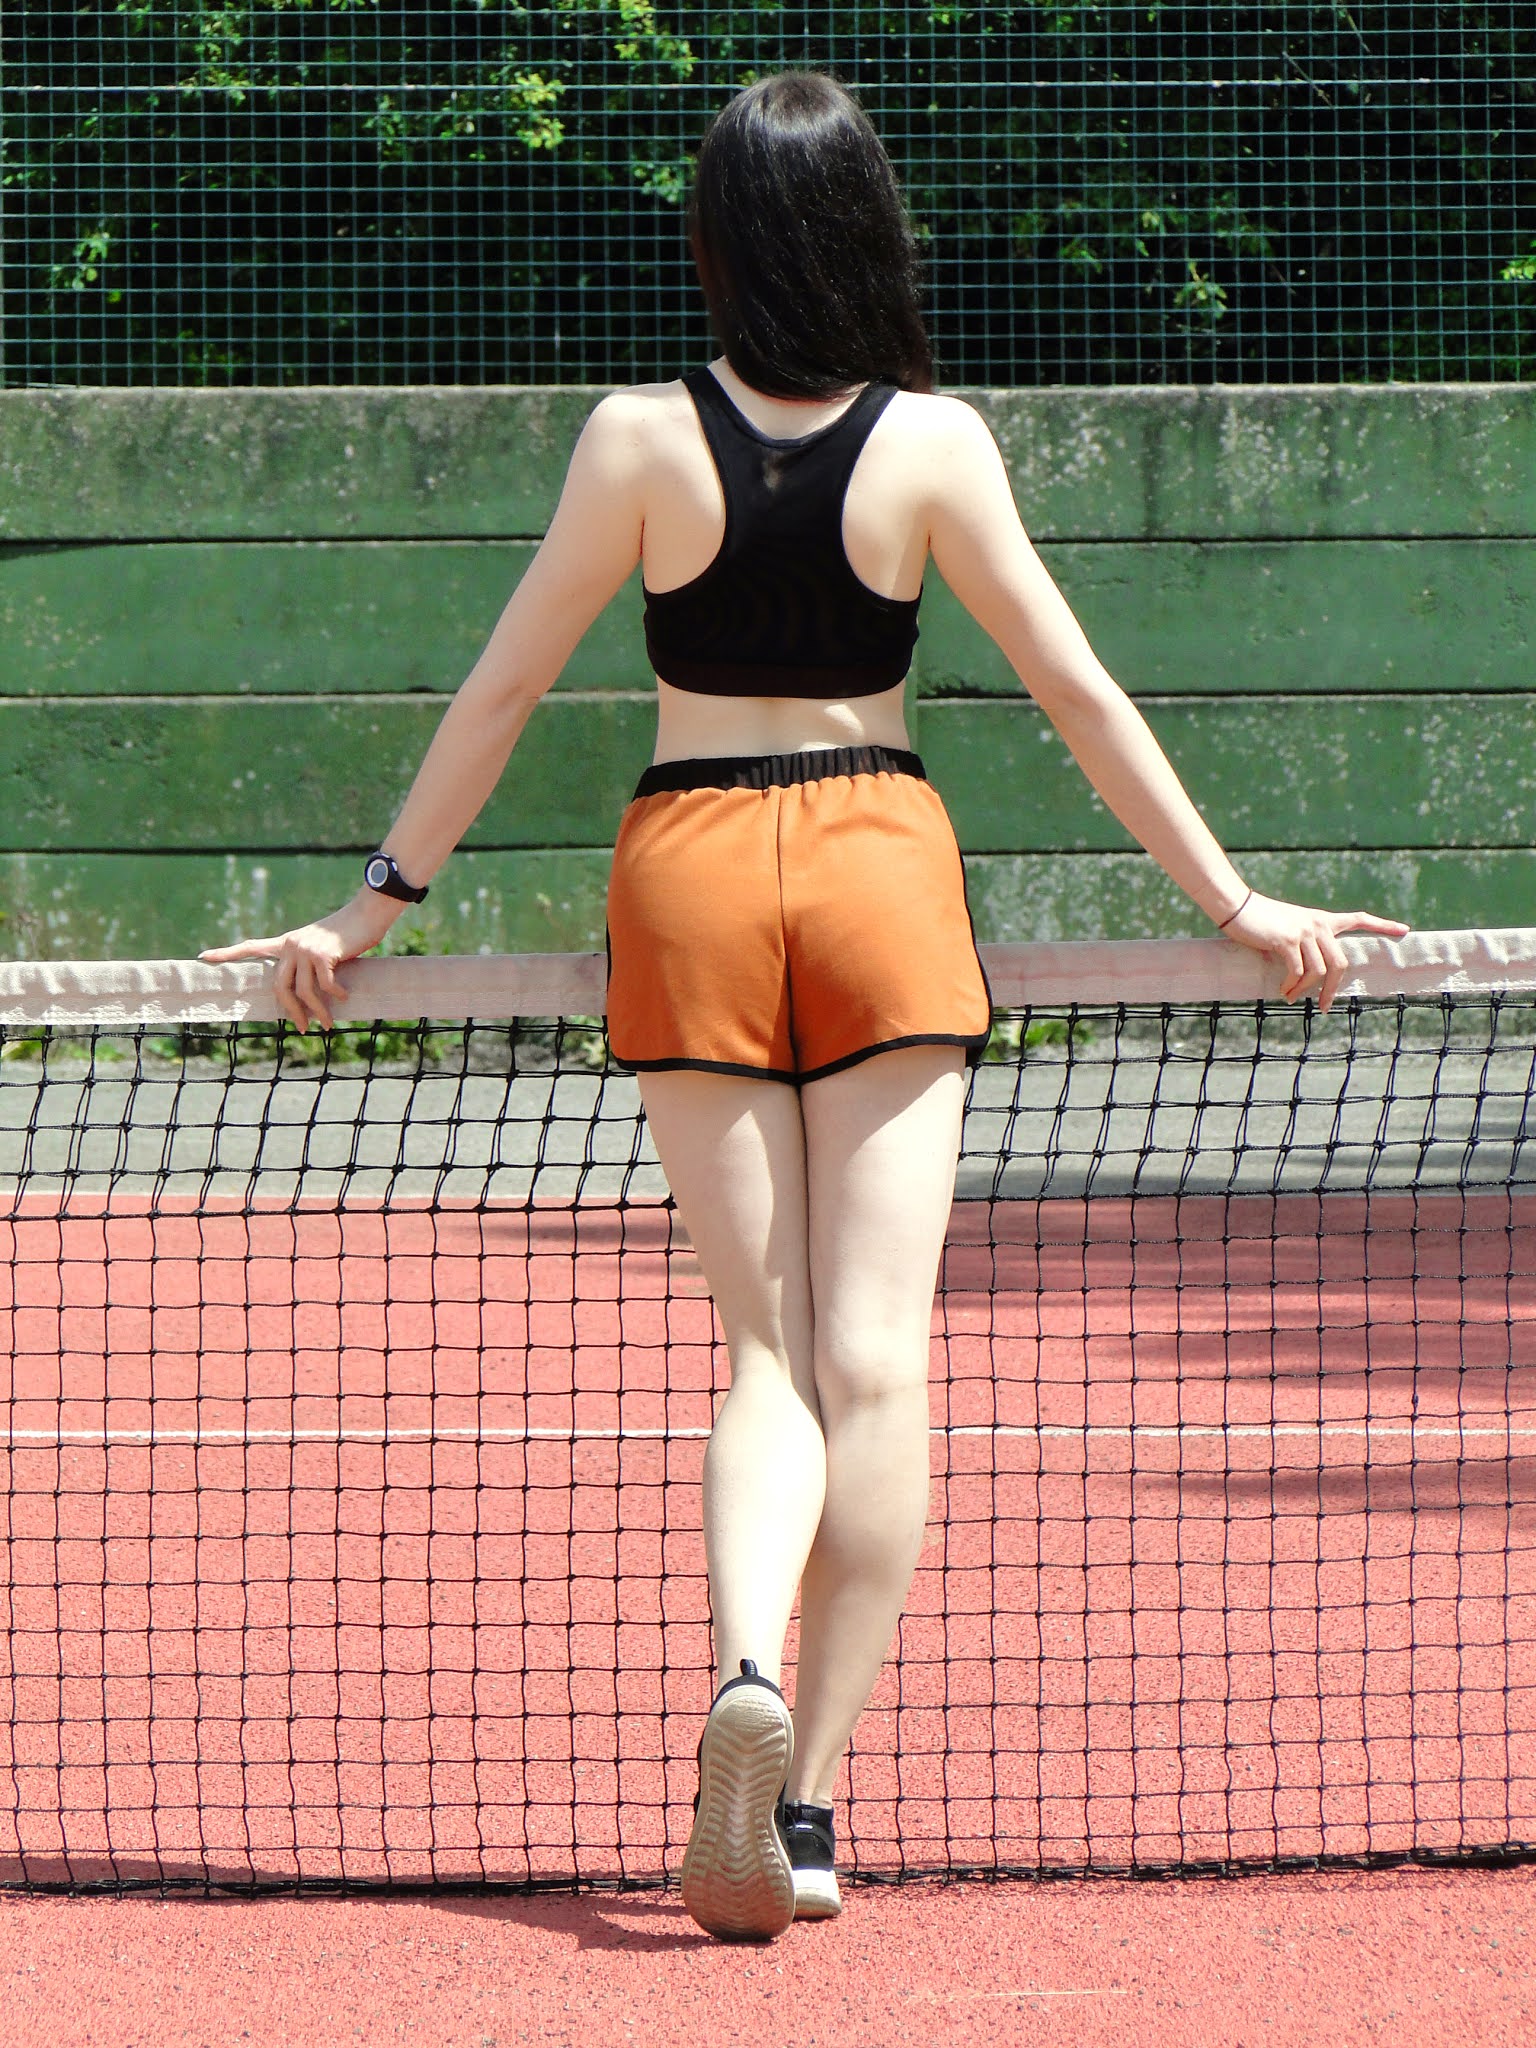

The front piece features a gathered section at the neckline. To make this I stitched 2 rows of loose gathering stitches between the pattern markings, through both layers and then pulled the thread to gather. I haven't gathered anything for ages!! I found this a little bit tricky with stretch fabric - especially for the next stage when the section is gathered to fit the neckband.... but the neckband its stretchy and is stretched out as you attach to the neck!! I feel like there was a lot of room for sizing slip-ups when both the neckline and neckband have an indeterminate length!! To try my best to ensure the fit was accurate I made sure I tried the bra on at this stage and arranged the gathers to sit neatly on my bust.

I attached the neckband using the overlocker, as I would a neckband on a tshirt. The pattern suggests sewing it on as a binding piece, with the raw edge of the bralette sandwiched between the binding. As my band was see-through though I attached it flat onto the right side (stretching out a little particularly around the front of the armholes to avoid gaping) and then turned upwards so the overlocked edge was flipped to the underside.

Once the shoulder seams, front gathering and neckband are all complete the side seams are sewn. I tried on and found there was a little bit of gaping at the underarm. I increased the seam allowance by a further 1.5cm at the top of the underarm seam only and graded back out to meet the seam at the bottom.

With this alteration in mind, I took 3cm off of the length of the armbands (by increasing the seam allowance by 1.5cm). Of note - the pattern dot on the armband to match to the shoulder seam is NOT central as the back of the armhole is bigger than the front. Remember to ensure that once the seams are matched at the underarm, the shorter length up to the dot is the front. Again I attached the armhole binding in the same way I did my neckline- stitching to the front and flipping to the inside. I made sure I pushed my bra side seam allowances towards the front as the back piece was sheer and I didnt want them peeking out.

At the front arm hole I separated the front from the lining and only attached the outside to the armband. This left a little gap where I am able to insert soft cups into the bra for extra support. They can be removed easily and washed separately. Next time I will plan this opening a little more thoroughly in advance and overlock the edge of the lining separately before tacking it to the front piece.

With neck and arms complete, the last stage is applying the bottom band. As the back of the bra was sheer I did not want to add on orange band right the way round. I was tempted to just use the mesh on its own but the elastic I had in my stash was white and I thought it would jump out a mile as the fabric was see-through. To combat this I layered the mesh on top of the orange then folded in half to create the underband. I went off on a bit of a tangent from my pattern instructions (again!) and attached the bottom band by overlocking it onto the rightside then turning the seam allowance under. I had left a little gap in the side seam of the band to insert my elastic as outlined in the instructions - but I would say of you are really short of elastic and you used quite a sturdy stretch fabric AND you aren't going to be doing starjumps in your bra all day, then you could get away without putting the elastic in. I did however have elastic I'd bought especially for this project so I inserted it by feeding it though with a safety pin.

My elastic was 1 1/4 inches where as the pattern called for 1 inch elastic. To accommodate for this I made my underband 1/2 inch taller so that when it was folded over it would encase the elastic perfectly. Obviously this height can be varied depending on the width of your elastic. When attaching the band with the overlocker to the bra I ensured I was sewing at a 1.5cm seam allowance so that when the elastic was inserted there would be no floppy empty bits in the band.

The bralette is cute! I feel like there's plenty of ways to play around with the design and mix match fabrics to make a whole array of New Look 6493 bras. Next time I will pay a bit more attention to the gathers at the front. I think this is a cute feature but as the fabric is so stretchy, once the bra is on the become a bit less defined and run the risk of looking a bit like a mistake! I think it would be easy to omit the gathers altogether by reducing the width in the front of the pattern. Stretchy fabric is so forgiving that I think you could get away with it quite easily!


x
Location: Coldwell Lane Tennis Courts, Sheffield
Currently listening to: Honey Don't, Wanda Jackson
No comments:
Post a Comment