Saturday 27 May 2017

Simple Sew Peter Pan Blouse


The Peter Pan Blouse by Simple Sew is quite 60s in design, with its cute collar and its loose fitting, baby-dollesque shape. It's the perfect sewing pattern for floaty summery fabrics. My choice was this lovely georgette from FC FABRIC STUDIO. Although it's a plain block colour I knew its see-through factor could add a bit of interest!


I've worked with floaty fabrics before so knew the terror I could be letting myself in for. Experience makes for knowledge though so this time I was better prepared.
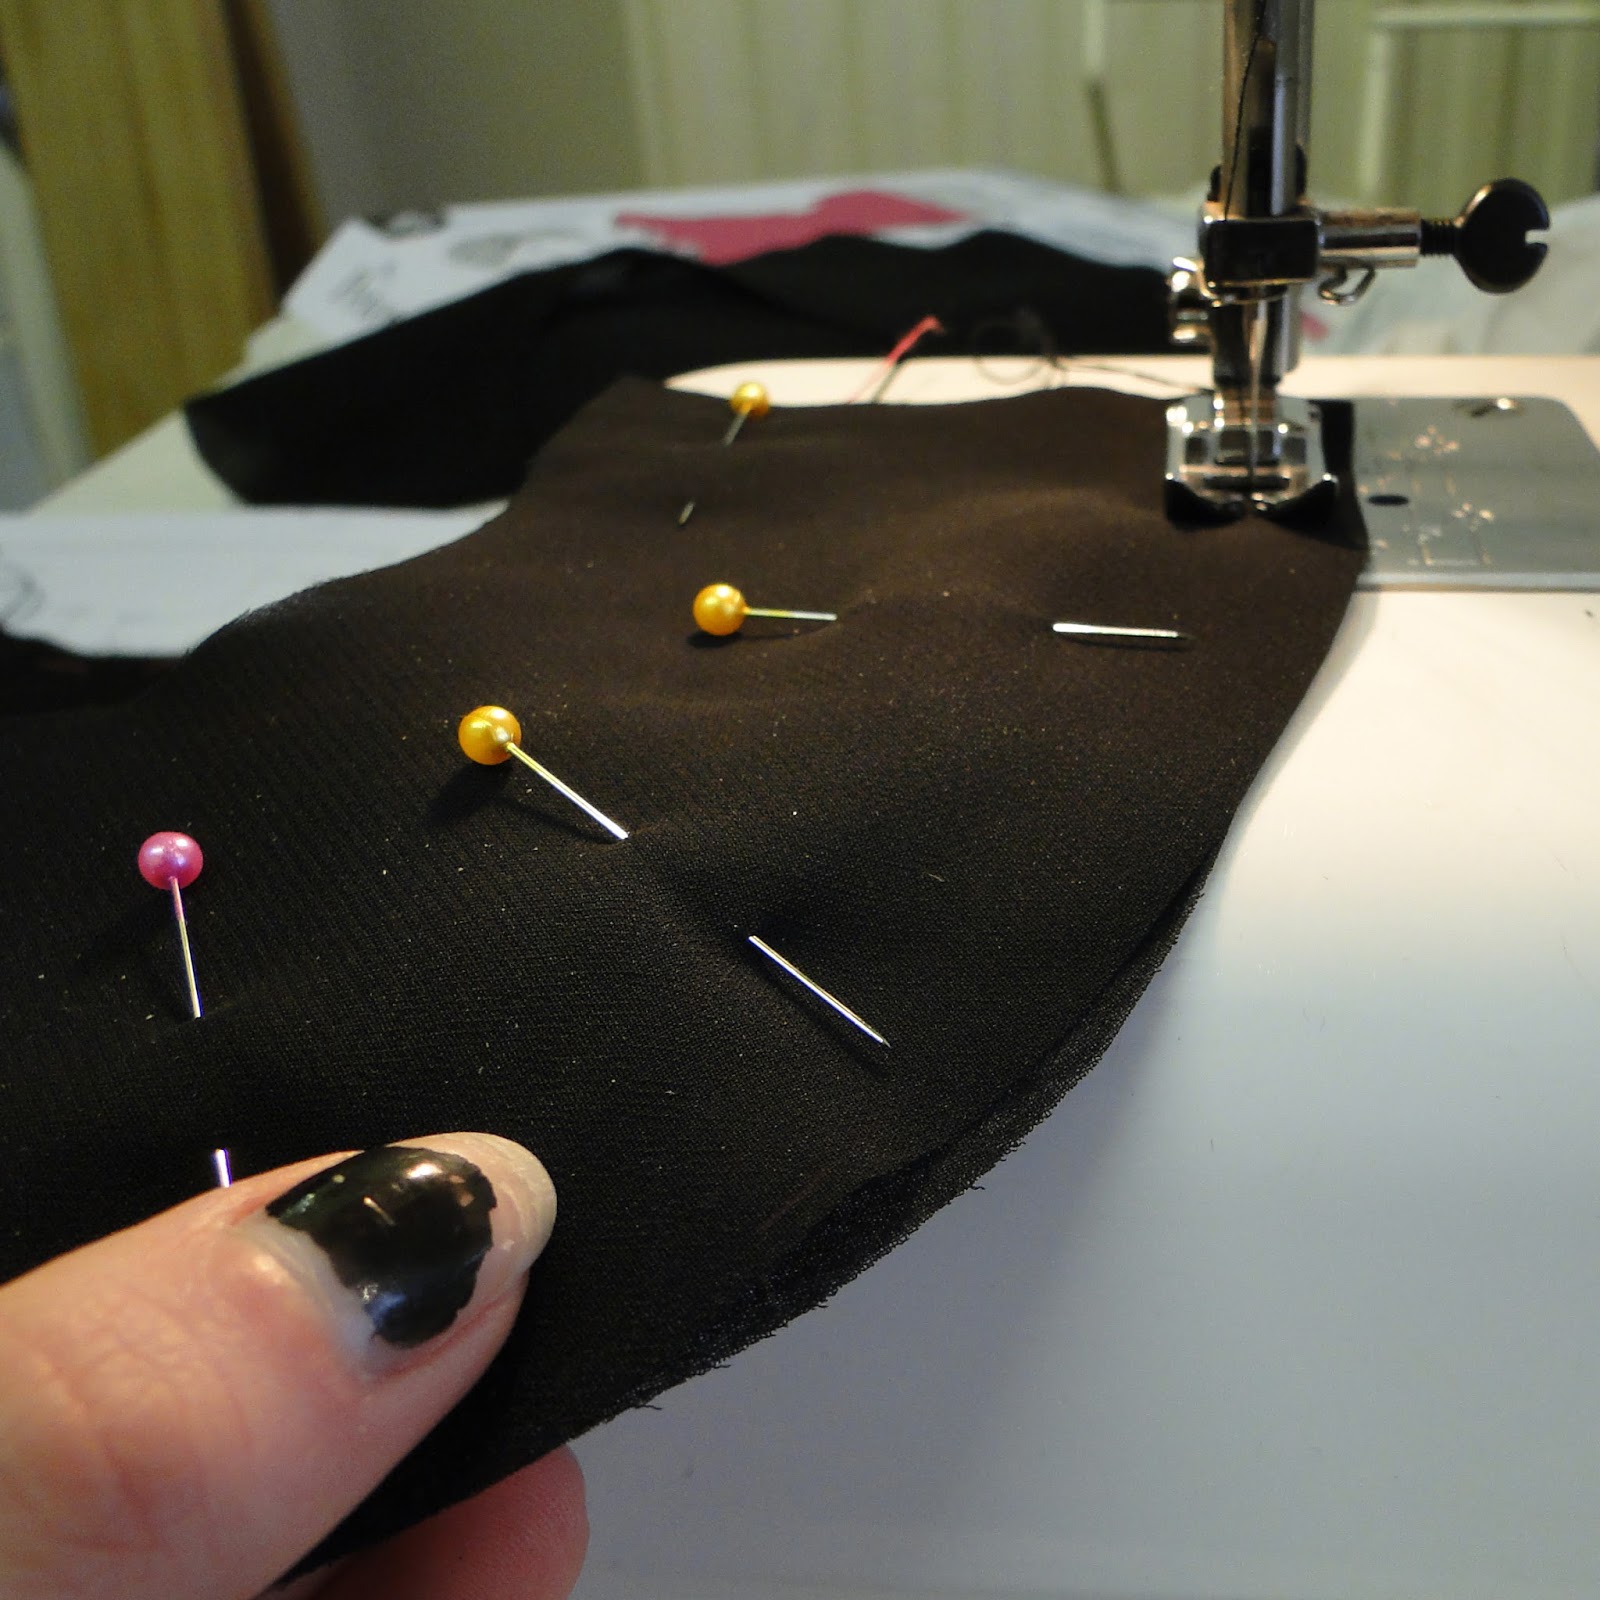
Accurate cutting out is pretty essential. The blouse is literally made up of three main pieces-a front and two back halves which fasten up with buttons and a collar. With no pattern to match this session (thank lord), I cut everything on the fold. Once I'd matched up my selvedges on my lovely kitchen floor, I weighed this down with pattern weights (okay fine, sardine cans) then weighed down my pattern pieces instead of pinning so as not to disrupt my fabric.


Using rotary cutter stops the bottom layer of fabric from sliding around when you cut as it would do if you were cutting with shears, making for more accurate pieces. Yay.


I cut the collar from a scrap of fake suede I had in attempt to add a bit more excitement, but found the two different shades of black didn't sit well together at all. Instead I cut the collar from some remainder georgette and cut another pair to use inside as a facing to add a little more strength. Due to the sheer qualities of the fabric I didn't want to use an iron on interfacing in case you could see it from the right side.


I cut my three pairs of collar only to find they didn't match up in the slightest! Damn slippy and slidey fabric, so frustrating! Time to call out the big guns like I should have done from the start! My secret weapon was a can of spray starch. It was the first time I'd had a go and I can tell you it worked wonders! So for any other starch virgins, the drill is you spray your fabric, press it so it dries and then hey presto, your fabric is 1000000x more stable and so much easier to work with! When you're all stitched up, give your garment a wash and your fabric will return to its glorious drapey self.


So I tacked in my middle layer of collar then stitched the two collar pieces and turned right side out. They have to be spot on symmetrical otherwise it's painfully obvious when you attach the two pieces to your neckline! I won't lie to you, I had to make a few tweaks to them both to get them to match.


I gave my side seams and shoulder seams a quick blast with starch to help stabilise before stitching.


The collar insertion is then hidden with a strip of bias binding. I got enough fabric with it in mind that I would make my own, but the prospect seemed too much faff when I saw the pre-made rolls on the stall in the market. I still need to work on neat finishes at the end of my binding. Any tips anywhere?


The back opening is made by folding over about 2cm on either side to make way for buttons and button holes. The pattern says nothing about facing this but I strongly suggest it, especially if you are using a lightweight fabric. Again I cut an extra piece of my georgette and tacked this in for extra stability. You then fold the centre back under itself and stitch down on either side to create a nice neat placket, about 2cm wide.


I was so pleased I finally had a project worth buying these beautiful buttons for! I've been eyeing these lovelies up since I started sewing. Aren't they just gorgeous! The pattern features 6 buttons down the centre back, about 10cm apart.
Everyone hates doing button holes, but this time it ran quite smoothly! Stitching on the buttons to correlate always frustrates me a bit too! I found getting them in the exact position really tricky. With them being on the back it was hard to check out how I was getting on!


With all the buttons sewn on I found the back gaped between the top two. SO frustrating! With such a wide button placement though this was bound to happen. I would suggest using smaller buttons closer together. Instead I used a sneaky popper in between the top two buttons that seems to do the trick.


A quick hem to finish and we were all done!


x

Location: Weston Park, Sheffield
Currently listening to: Josefin Öhrn + The Liberation, Dunes

Sunday 14 May 2017

Self-Drafted Jaclyn Blouse


Last September my self-drafted Zohra Kimono was a bit of a personal game changer. I'd found myself thinking about the technicalities of dressmaking, mentally constructing and deconstructing garments in my head.

Less than a month ago I was out and about and spotted a blouse that looked the business. Instead of thinking 'Where can I buy one' my head was saying 'How do I make one?', and so the challenge began.


Coincidentally, I realised that I could use Zohra as a basis for my new pattern:

- The length on the body was about the same, sporting a tie waist again, but this time knotting at the back instead of the front.
- I would abandon the wide front/neck band and instead stitch a centre front seam that stopped at the bust.
- The centre front would rejoin at the neck where it would be stitched to a narrow neckband that would (somehow!) fasten at the back neck.
- The sleeves would be cut all in one with the body, joining front and back at an overarm and underarm seam.
- The sleeves would be shorter but wider at the elbow.
- The bottom of the blouse would be gathered into the waistband, just like Zohra.

They seemed like easy alterations to make to the pattern, the hardest part probably being omitting the front band and making sure the shoulder seams would still match up nicely at the neck.


Next mission was to find the perfect fabric. I have an Abakhan trip planned for 15th May, but turns out I'm so inpatient! Hillsborough fabrics was useless. I knew I wanted a fabric with a lovely crinkle to it. They had some silk crinkle chiffon in a shitty shade of brown, when I asked the lad if they ever had it in in black he looked fairly disgusted, as if brown was somehow a much more popular colour (??!). There was plenty of chiffony blacks, but with that boob-window in mind, for once I wanted to try and steer clear of see-through.
The stall on the market did not lead to success, and neither did John Lewis. My final brainwave was to see if Primark had anything in in the fabric I was imagining.
The answer was yes! A £20 wrap dress, but they only had it in pink and grey!!! Frustrated and about to give up I checked in H&M and struck lucky. A very plain dress in this fabric. No darts to take out, no hem to unpick! Just binding on the neck and arm holes that I detached. I bought 2 (one XL, one L) and hoped I would have enough fabric to make that waistband.


Cutting out was tight, but I managed to get my front and back bits cut out with enough left over to make the waistband, however I had to cut this in three bits (main body and two ties), and sew them together as there wasn't enough length in the dress.

I tested my overlocking settings on some scrap and it seemed to work fine, but totally mashed up my centre back when I went to finish the edges. Luckily this fabric doesn't fray, so before I totally ruined my life I abandoned all overlocking!

Construction
1- Stitch overarm seams.
2- Stitch underarm seams, clip at curves.
3- Stitch centre fronts together about 15cm up from the bottom.
4- Turn centre fronts under. Press if you're not using crinkle fabric, then stitch down.
5- Repeat for full length of centre back.
6- 2x rows gathering stitches along bottom. Gather until garment bottom measures 75cm. Distribute gathers evenly.
7- Stitch waistband to garment, matching centre fronts.
8- Turn waistband ties right sides together and stitch lengths and ends. Turn right sides out.
9- Handstitch inside of band to waist seam.
10- Attach bias binding to neck, making sure centre fronts match at centre.
11- Stitch on button, right back of neckband
12- Make hand sewn button loop on the left.


Done! If you're using fraying fabric you'll have to hem sleeves and add in overlocking at relevant points. The original dress was not hemmed though, and I didn't want to affect the swing of those sleeves so I happily let myself off without hemming a thing!


This fabric was at times hard to handle. There was the whole overlocking thing I mentioned, and you have to try really hard not to stretch out all the crinkles when you stitch. The machine tends to want to follow the crinkle lines which sometimes is handy, but it makes it really really obvious if your stitch line isn't straight. I had to set my machine tension really high as the bobbin stitches tended to come out quite loose.

All totally worth it though for those lovely crinkles! The fabric is easy to make fit, as they open out where needed and close up where they don't. They gathered like a dream at the waistband!
Pressing is a no go, unless you want to de-crinkle (which you obviously do not). The only time I got the iron out was to make the binding for the neck!


The waistband was really stretchy so hard to make exactly 75cm! But stretchy waistband that ties at the back fits whatever you've had for tea!!


I love these drapey sleeves and sneaky slit at the neck. It's just deep enough to be sexy, but the join at the neckline stops it from going too astray!! If only I had cleavage eh!


Looking forward to gigging with this lady!

x
Location: Sheffield City Centre- Sheffield Station, Eyre Street Car Park, Leadmill, Hubs Student Union
Currently listening to: Run For Your Life, The Beatles