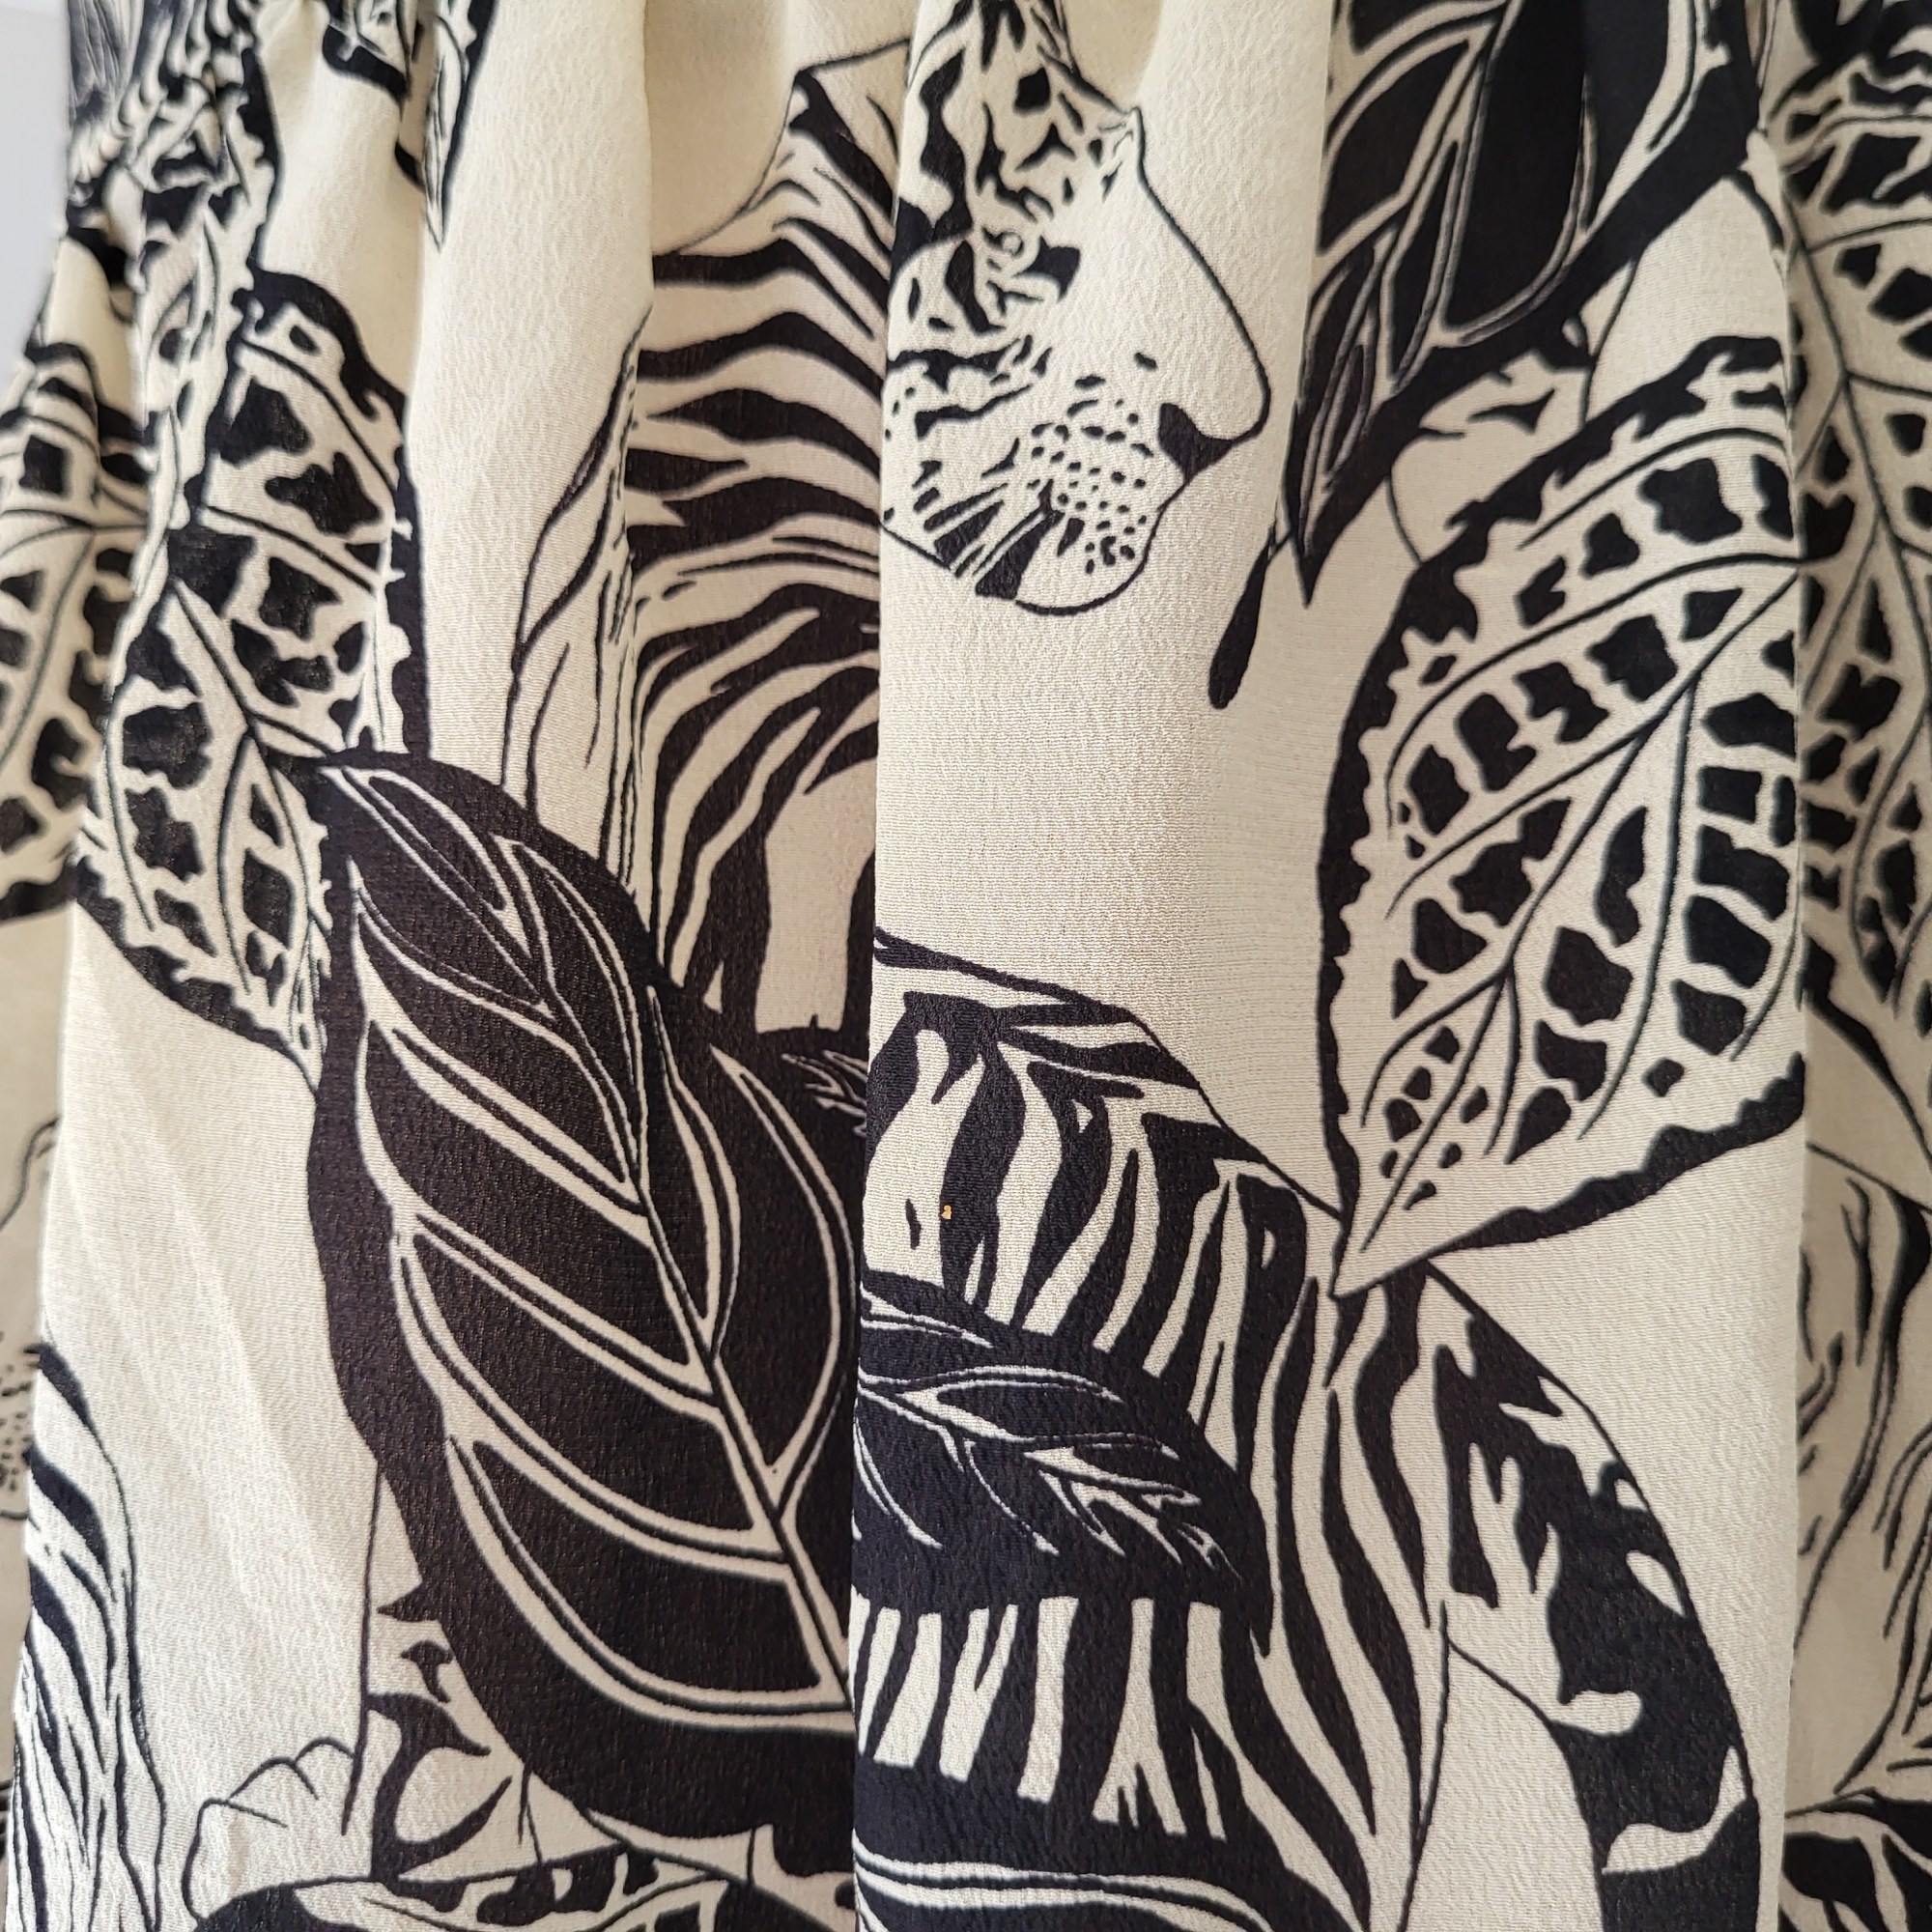
Tuesday 26 March 2024

Hariito Patterns, Hibou Bodysuit


In 2023, I discovered my new favourite part of Christmas. The 12 days of Christmas advent giveaways on Instagram! There seems to be loads of profiles getting involed at the end of 2023- I had a lucky feeling and threw my hat into the ring for a few. I actually ended up with a few prizes! 


I've been eyeing up Hariito Patterns Hibou Bodysuit ever since it landed in 2020. The mesh panels resonate with the lingering Simon Preen fan-girl in me (who reached her height in the 2014 Tumblr era), and any excuse to play with velvet and picot elastic gets me excited, as we already know. 


So imagine my joy when I entered Hariito's advent competition and won the pattern! Yay! I downloaded stright away and was very impressed with the pattern package. It features the PDF for 13 sizes (with the option to change cupsizes), and something I've never seen before - the function to turn other layers off so that when you print you only have the lines you need (am I late to the party here guys 😗). The instructions are thorough, walking you through measuring, printing, assembling, cutting and sewing, with tips along the way for elastic variations. There are instructions for adding the gusset in one piece as well as splitting it in two and adding snap closures, and then another helpful file to guide you through fit alterations. 


I measured myself to be a size 36, A/B cup size. You'll see once you select your size that some of the pattern pages are redundant, so it's a lot easier to assemble the PDF than you may think at first glance. Obviously you only need to cut the front top cups to your size so again, there are some pattern pieces that print out that you won't need. 


Once I'd cut out the pieces from my toile velvet, I did think the body looked a bit short for me - I am maybe a little taller than average, so this made sense. The gusset piece does add some more length to the front body (it kind of sits a little further forward than the gusset in the Simplicty 8513 Bodysuit I'm used to, so the extra length here is added to the front but not really the back). I was lazy when I made my toile and decided to do the 1-piece gusset. This made it quick to try on once I'd put all my pieces together, and I could easily assess the size. After a little sensible thinking I realised that going for a wee would be a massive pain in the bum if I didn't make the snap closure version. Initially I was annoyed that I would have to fiddle around with the pattern piece to split it into two, however the instructions are really clear what to do, and this minor alteration does give you a sene of accomplishment! 


I was right in that the bodysuit was a little short on me. My toile fabric wasn't the stretchiest lengthways, but it was clear that the underbust seam was too low. I was very happy with the waist and hip fit though. I thought the waistline looked a little to defined on the pattern to match with my body, but it sits really nicely. This made it easy to identify where I needed to add the length in the pattern (ie, above the waistline). I added an inch into the front and back pieces (very easy alteration - just make sure you slice the pattern at a right angle to the centre front/back fold line and add the inch all the way accross). 


My favourite part of sewing any project is that moment when 2D becomes 3D. With this in mind I was stoked that the first step in sewing the pattern was making the cups. After literally ONE line of stitching the cup pieces become curved and well, cup-shaped. SO satisfying. The line of top stitching along this seam really adds to the professional finish. My new sewing machine has made it sew easy to line up top stitching. I used 3 stitch length and 2 stitch width for both the seams and top stitching throughout the pattern. 

I think anyone who has made this bodysuit would agree that the hardest part is attaching the top front (ie, the mesh M-Shape piece), top the top of the cups. There are a lot of opposing angles to match here. I found it particularly difficult to sew the points - the pattern says to sew to the top of the cup, keep the needle down, snip the mesh at the pinnacle and then sew down the other side. Did anyone else find it impossible to snip accurately whilst still attached to the sewing machine? Even with the presser foot up I couldn't really get in there to see what I was doing. Also, the pattern wasn't super clear about where to match the mark on the mesh to the cup seam (I aimed for the sewing line as marked on the pattern but I can't guarentee thats where it ended up!). I would recommend definitely marking these points with thread tacks so you know where to stop stitching and pivot. 


Once the top front is attached you can breathe a bit - the rest of the assembledge is intuitive. I did note that the instructions for sewing the gusset in two pieces didn't seem to quite make sense. The steps seem slightly jumbled and theres is suddenly mention of 'turning the elastic to the inside'... what elastic! We haven't used any elastic yet! Very bizarre, but as I said - Everything is quite intuitive, so I did the same to the back and front gusset pieces and successfully ended up with the seam allowance and interfacing sneakily sandwiched between the fabrics. 


Sneaky top tip for sewing velvet and other fabrics with nap- I have an old (clean!!) mascara brush (one thats a bit fuzzy rather thank comb-y) that I run over the topstitch and the seams. This helps the stitches nestle into the fabric (and also helps to hide any wobbles !!). 


There are instructions included in the pattern for adding fold over elastic or picot edge elastic as a means to finishing the raw edges. You know me, of course I used picot. I loooove that the pattern tells you where you should increase the tension on the elastic (around the bum) and by how much. The result is a really neat finish with equal fit and tension where it needs to be. 


I used a hotknife to seal the ends of my elastic (and ruined my butter knife in the process whooooops), then hand stitched three snaps into place on the gusset. 


The final step is assembling straps and attching where necessary. Or, if you're me, the final step is a trip to Primark to buy a cheap bra, butcher the straps and then attch them as you're own. The lady on the haberdashery stall once pointed out to me its more economical to buy a bra and deconstruct it fir the parts you need than to buy all the parts separately. She's not wrong. 


A slightly odd feature of the bodysuit, is the straps sort of go on back to front, with the 'doubled up' bit attaching to the front and the single strap attaching to the back. This is because the strap extends under the mesh at the back and is fixed at both the velvet/mesh seam and the picit edge, allowing for double security. I did find it hard to know exactly where to attach the straps, and whether the should be angled at all??? Essentiall though, I found as long as both sides did the same thing then we were winning. 


Voila! Ive been reading a lot of books recently about dance halls and cabaret. This bodysuit has got me feeling like I'm fresh out of the Follies 😘👙👯‍♀️ 


x
Location: Home Sweet Home
Currently listening to: King Of The Highway, Chris Isaak

Wednesday 10 January 2024

So, Zo... Strappy Vest Top V


Velvet and bodysuits definitely feature in my top 10 sexiest things (right next to bob haircuts and David Gandy in that Dolce and Gabana advert), so it seemed like a natural pairing to use this black velvet from Minerva alongside the bodysuit pattern hack I'd been working on, using the So Zo free vest top and Simplicty 8513 bodysuit patterns as a base. 

This fabric is a cushed velvet which catches the light from all angles. What I really like about this velvet, is it doesn't instantly get my heckles up if I stroke it the wrong way 😅 Don't get me wrong, there is a clear nap to it, but it's very comfortable to wear. 


The fabric is described as 80% stretch crossways and 10% stretch lengthways. I must admit when the fabric arrived and I did a test stretch, the lengthway stretch felt pretty non existent (Have I overestimated what 10% stretch feels like?). The alarm bells were already going off that a fabric with only 2 way stretch was probably not going to work for a bodysuit. The Simplicity 8513 bodysuit pattern however did say that it was suitable for 2 way stretch on the packet (spoiler; it's not) so I thought I would cut it out anyway, with the option of cropping the 'leg' area off if needed and therefore elimiating the necessity for lengthway stretch. 


With this issue in mind, I did cut the body pieces out with a couple of extra cms in the length (hmmm, not enough). 


I was excited to try my new little hack to this pattern by inserting a powermesh panel into the front section. I drew out on my pattern piece the depth of the triange I wanted and then added a 1cm seam allowance to both the new neck opening and the edge of the triangle. I fiddled around a bit then trying to remember how to line up the triangle and exactly where to clip to at the V-point so the triangle sat flat. Any creeping seam allowances here were put in their place by using a straight stitch and topstitching around the panel. 


I used a lovely picot edge elastic around the back/underarm/front neck and attached pre-made straps pinched off of a Primark Bra (sometimes a lot cheaper to buy and deconstruct than it is to buy supplies from scratch). I hand stitched the straps at the front for an invisible join and also cause the fabric gets a bit bulkly there where the elastics all meet. 


With straps on, I could try on the bodysuit. I attempted pinning at the crotch to see what comfortable range of motion I had. The front looked OK, though a lot shorter than I would wear my bodysuits. The back however was pulling at my hips, meaning the fabric wasnt fitting to my lower back, the curve in the centreback was too high as the fabric wasn't stretching the way it would with 4 way stretch. My mind was made up to convert to vest top, but I did get some photos of the garment as a proposed bodysuit to remind myself I was right - this pattern and velvet was definitley scoring the sexy points. 


I tried on once I'd removed the bottom part of the pattern and felt the vest top would benefit from a slightly curved hem. I chalked the curve onto the velvet following the natural contours of my body, making sure both sides were symmentrical when I snipped away the excess. I added a cute trim of picot elastic to finish the bottom edge and we were good to go! 


I love the velvet and the mesh working together, and I think the velvet is super flattering. Looking forward ot having a go at the full bodysuit version when I get my hands on something with a little more stretch. 


x
Location: Home Sweet Home
Currently Listening to: A Pile Ou Face, Felipecha