Sunday, 27 October 2019

McCalls M7575, Shirt


It's the same pattern but this time a little more casual! Essentially I really like my friend's denim short so I made my own!


I found this denim in Samuel Taylors in Leeds, its lightweight and perfect for shirts. I was pretty excited to make this shirt without the added challenge of having to pattern match! It shaved sooo much time off of cutting out and sewing up. I think I spent two full days spread across a day and two halves to get the shirt finished.


This is my 4th time using the McCalls 7575 pattern, but my first time adding the pockets. It took a good few attempts to get those bottom corners folded in properly but I think I got them looking pretty sharp in the end. I struggled a little knowing how to place something flat over something shaped with darts??? All I could do was match the top corners to the dots and try and make sure the side of the pocket was parallel to the shirt opening.


I think it looks fine but was a little bit worried it was going to be one of those things that revealed itself as Not Fine at the final stages! Might be cool to have a play with the pockets on version C- they have flaps! There is no fastening on the pockets for version B but I added come cute little buttons for decoration.


This shirt also differs from the others as I decided to add top stitching to the seams, creating a kind of faux welt-seam and a traditional denim look. I added double rows of stitching to the pockets, yoke and shoulder seams, side seams, sleeve seams and collar. It was all going well until I realised topstitching the underarm seam was going to be really hard once the rest of the sleeve was sewn up! Luckily though, I found I was able to stitch from the top down and then start again from the bottom and meet the rows of stitching somewhere in the middle.


Phew! I'm glad because I really love the effect of the double rows.


The cuffs were a dream to sew, I absolutely love how professional it looks every time with that pleat above the button. Also topstitching meant I didn't have to hand stitch the inside! Yay!


I made a tiny alteration to the sleeve pattern, that was just taking some out of the underarm seam, but grading back out to the original arm hole. I noticed on my last shirt the sleeve was maybe a bit baggy there and thought this might look really obvious with a plain fabric. I'm glad I did! The sleeves fit perfectly so must have made the right decision.


I love the way the fabric hangs on me. It's the perfect weight but doesn't get too creased, in fact it was super well-behaved all together really. Top stitching was a little tricky over bulky seams, specifically the under-collar (I would probably take this off and do it again if I wasn't always so eager to get it right first time.


Before reaching the shop, I couldn't decide if I wanted silver or gold buttons. I knew I wanted something subtle, if I'd have had a stash I would have been tempted with some cute snaps. I settled on these brassy metal ones from the market, with two of the smaller size for the pocket decoration. They are understated and maybe a bit predictable but perfect with the denim and the yellowy topstitch.


And that's about it really. I'd hate to think I'm wearing out this pattern, but it's just so versatile, it's a tried and tested classic so perfect for making sure lovely fabric isn't going to be wasted. I still have more b&w stripes that I want to make this shirt from, so keep your eyes peeled for another coming soon....


x

Location: Magpie Mine, Sheldon
Currently listening to: Missing, Calexico

Sunday, 8 September 2019

McCalls M7661 Trousers


I bought a pair of paperbag trousers from Primark and was mesmerised by their construction. I spotted the McCalls M7661 pattern online and thought they looked kind of similar in design. I was particularly drawn to the high waist and tie front so I thought I would have a go.


I made my toile from some really light fabric (wayyyy too light, very see-through!). I found that the gathers hung reallly nicely though so made a mental note that my final fabric would also have to be quite light.


The gathers are a really sneaky way of making these trousers a doddle to fit. They provide some extra room in the front which allows for movement, but the nipped in waistband keeps them figure flattering. Gathering is also realllly fun to do. Two loose lines of stitching then pull the ends until it fits between the markings. Pin and stitch, so satisfying! For option A on the pattern, there is also some sneaky gathering on the belt where it joins at the side seam.


The belt is a really neat way of adding some more interest to the trousers whilst helping a little just to tighten the fit. The belt joins at the side seams, so when tied it pulls in the back and hides any problems at the front haha! I did make a little alteration to the fit of the waistband (I didn't just hide it I promise!). It was a little too roomy in the front so I pinched at the top of the side seams and pinned. They fit fine at the hips so was really just a case of drawing that waistline in a bit at the top.


I also needed to make a slight swayback alteration as usual. The fabric was pooling in my lower back, or riding right up so the back sat a lot higher than the front. To rectify I pinched the excess fabric out of the back of the trousers where it joins (leaving the waistband the same shape) and drew on ny new seamline. I ended up taking a good couple of centimeters out then curving back up at the top of the side seam insert to join the original seamline. It makes for a bit of a funny looking pattern with the back scooped so low, but I'm getting used to the shapes that will fit me... Praise my tiny back!


I made mental note while assembling my muslin, that I would need to finish the raw edges of the side seams, panels and inner leg seam before assembling so that all the seam allowances lay flat when attached. This was a bit of a change to the usual blitzing the seam allowances as I go along, but actually found it much more enjoyable. I didn't have to keep switching machines as I went along or hold my breath that I was going to slice something important off as I overlocked!! Haha!


I added about 3 inches into the length. It was a bit of a last minute decision. I thought my toile looked cute but I've never been much of a girl for culottes, so I decided to add in a bit of extra length.


The fabric I chose was this lovely Paul Smith wool blend at £12 p/m from the fabric shop in Attercliffe. I was pretty certain I wanted stripes but I hadn't decided until I found it whether I wanted office vibes or summer vibes. I landed on these pinstripes and thought the sun isn't going to hang around much longer, so office vibes it was!


If I'd picked anything any heavier I don't think those gathers would have sat so nicely, but this fabric is so lovely to touch I knew that it would look dead profesh by the time I'd finished. There's definitely scope to make a summer pair from some crepe, so just on the lookout for the perfect print now.


Next time I cut the pattern I think I will pinch a little more out of the centre front of the waistband and maybe just add a little more into the bum area, though I don't think that's essential. There's so many variations of the pattern, I'm tempted to make the gathered wasitband version with no belt next time and maybe mix it up a bit by using a contrast for the outside leg panel.


x

Location: Paradise Square, Sheffield
Currently listening to: Dust Is Gone, MØ

Sunday, 1 September 2019

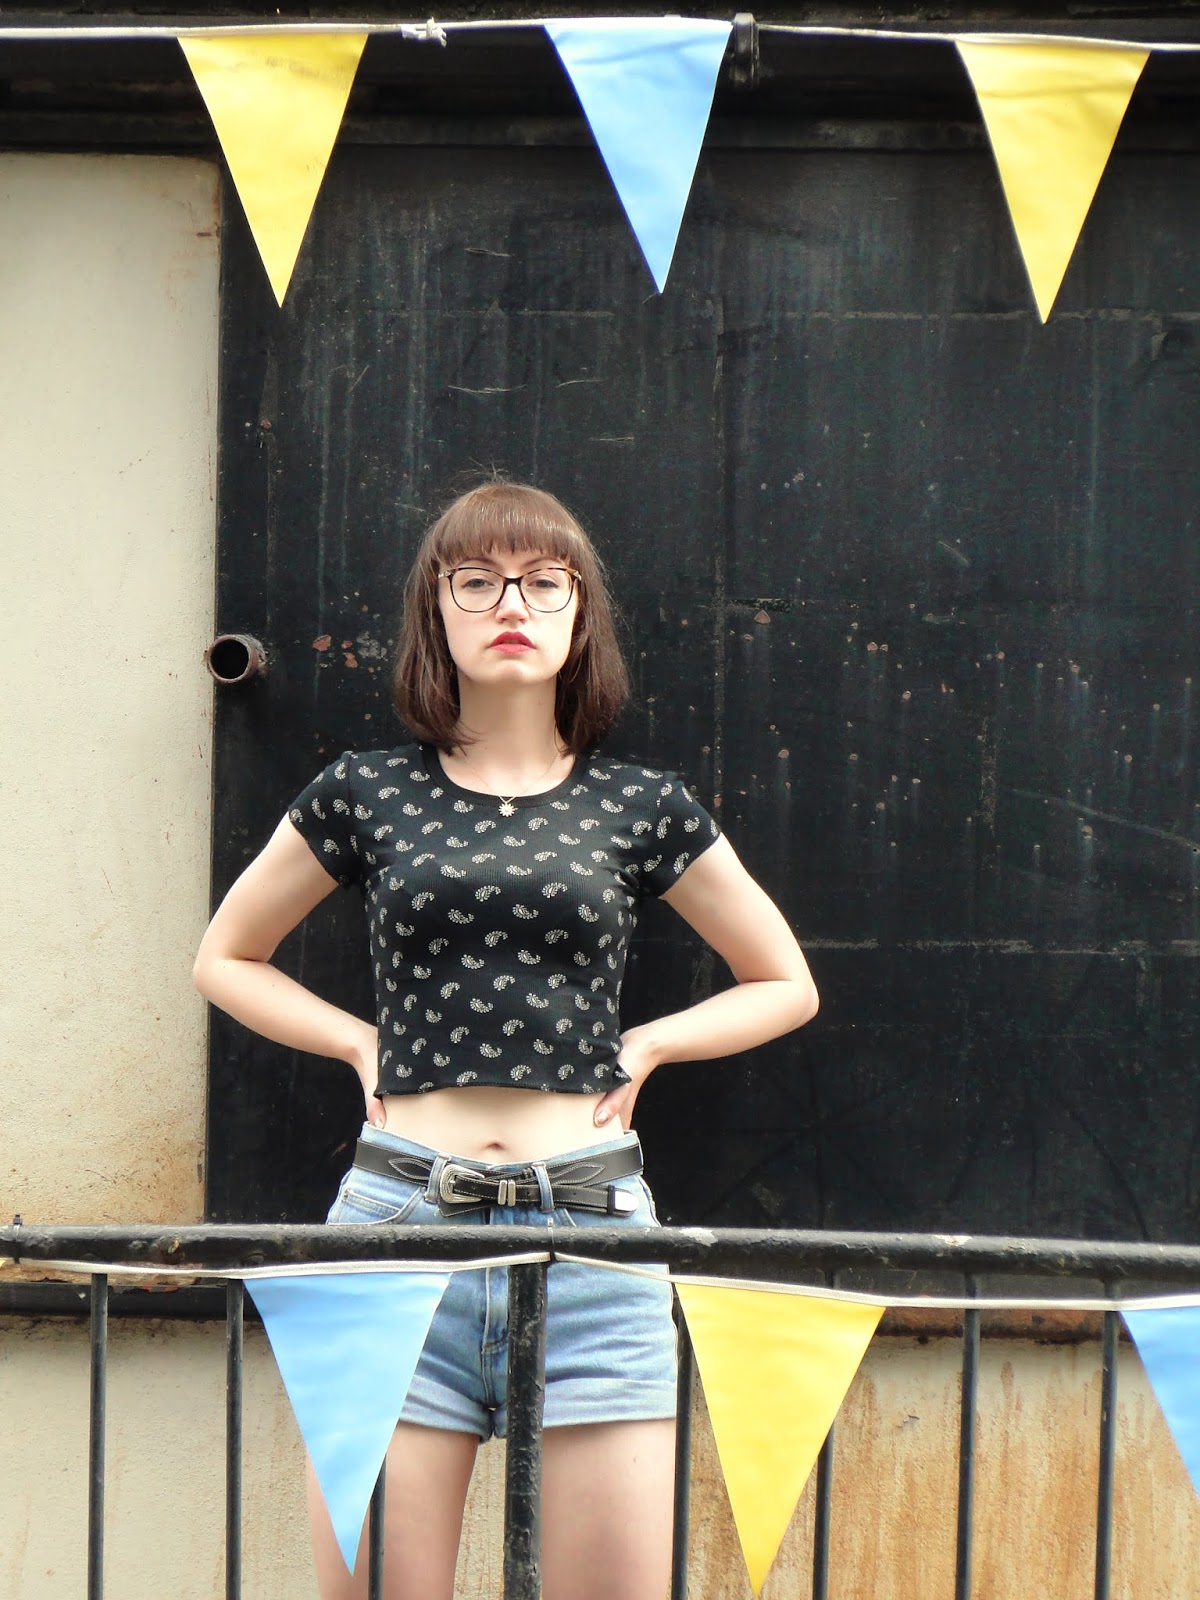
Simple Sew, Miranda Tshirt


By Now I'm sold that the Miranda Tshirt pattern from Simple Sew is all you need to jazz up your wardrobe for any season.


With just a few super easy alterations there are so many different styles to achieve.

For my third Miranda, I wanted to style out the summer vibes and crop it to the midriff, also shortening the sleeves. Oh and as always, the tighter the better.


I used this ribbed paisley fabric that's been in my stash since last summer. I did buy it with the intention of making a super casual, festival-ready tshirt... I'm so glad it was able to reach its destiny.


Pattern Alterations:

- Ditched the V-neck this time and instead raised and rounded it. I didn't want the neckline to be too low this time.
- Shortened the sleeves to the minimum I could get away with, made them a little bit tighter too
- Guessed the new length by holding up the paper pattern against myself and marking. Though I added a bit on because it's better to be safe than sorry!
- Omitted the hems! I wanted it to look super casual. My family may have asked 'Are you sure it's finished?!?!' but hey! It's exactly what I had in mind.


Due to the stretchiness of my fabric, I cut the pattern as is, and then pinned in the side seams at try-on stage. This ensured I got perfect fit. Also this was much easier to achieve when I didn't have to match up those stripes or chevrons!!


For the neckband I cut a width of my fabric from the border where there was no print. As I had changed the shape of the neckline, I cut it a little shorter than that for the pattern then pinned and stretched it round to test fit. Once happy with the length I marked the centre points of the neckband and neckline, matched up and overlocked.


Really happy with my cute lil tee! Perfect length to wear with highwaisted jeans or shorts this summer!


x

Loction: Shirland Lane Bridge / Effingham Road, Sheffield
Currently listening to: What Quid?, Kitty Daisy and Lewis