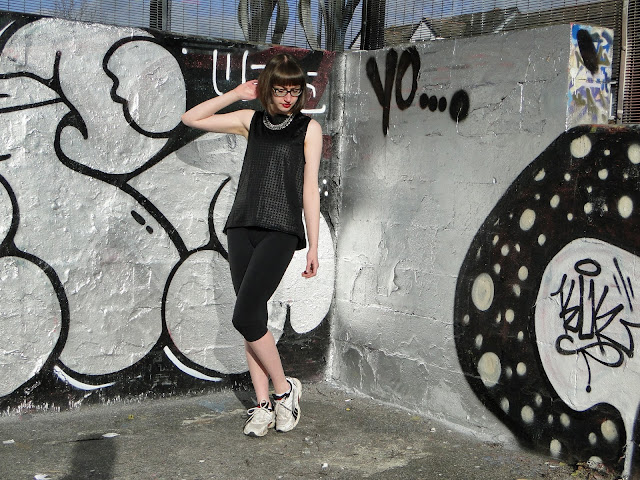
2014 feels like a very long time ago. It was a time of change, I'd started sewing in the summer and my first hospital job in the Autumn. 2015 arrived, my job was in full swing, I'd split up with my long-term boyfriend and I'd made my first ever Lottie Blouse. It was an exciting time in life, before I knew it I had a plethora of Lotties in my wardrobe.
Obviously new challenges took hold, in life and in sewing and Simple Sew's Lottie blouse slipped off my to-sew list. In November I was lucky (? jury's still out...) enough to bag myself a new role at the Hospital. When it came round to Simple Sew bloggers next pattern picks I knew that it was about time I made myself a new Lottie to go with my new job. I was excited to see how my skills had evolved since those early sewing days.
First up, I got my hands on the most up to date version of the pattern. I wasn't sure if there'd been any changes since it originally came free with Love Sewing Magazine (issue 2?). I cut a size 10 which was the same as my previous Lotties as they fit very well. The first thing I noticed about the pattern is that the pattern pieces say 1.5cm seam allowance, but the instructions say 1cm seam allowance for the blouse. I went for the 1.5cm as I assumed that was what I had done last time and the fit was fine. To be honest it's a pretty loose fit anyway so you shouldn't mess it up too bad with an extra cm or two.
 |  |
The neck binding is a little bit fiddly. The patten piece doesn't actually tell you to cut it on the bias, so a few new to sewing peeps might want to look out for that. Inside the instructions there is a little section on binding where it reminds you to cut the neckband on the bias. It's quite a narrow one, I think for my earlier blouses I made myself a wider band just to make life a little easier. You gotta be careful around the corners and bends of the neckline, but patience pays dividends as it so often does. I love my little keyhole neckline.
She sleeves are designed to be gathered into the armhole, with cute little gathers on the sleeve head. I say cute, they are 100% cute on most people, but I've felt really really conscious of mine on my previous blouses. I decided to take out the gathers, which was going to be a bit of a gamble. I remember my drafting teacher telling me sleeves are usually about 2cm bigger than the arm hole. Well I think she said 2cm? I measured my armhole which was 44.5cm then the sleeve pattern piece. There was an additional 7 cm of fabric in the sleeve, so I needed to take out 5cm. I measured 2.5cm either way from the center then folded these points in to meet in the middle. I then gradually eased out the fold and smushed it down flat. I tentatively cut out one sleeve with my new pattern piece and pinned it to the arm hole. Sleeves generally need the most ease in the back, so I made sure my centre point of my sleeve was a little further back than my shoulder seam, I stitched in and it seemed to go well! No gathers!! I did the same with the second which was also successful. The blouse was a tiny tiny bit tight over my shoulders, but I put this down to choosing the 1.5cm seam allowance instead of 1cm. I could have lived with is but decided to re-sew the sleeve caps at 1cm grading out to my 1.5, then unpick the original stitching at the top. Loads better!
The necktie used to cause me all kinds of problems. The piece is quite long, I think in the past I've gone a little off grain which has resulted in a twisty tie. I was super careful cutting out this time. The chiffony fabric I used has a tendency to shift around a bit, but I did my best to keep it all flat and straight. The problem comes with the instructions telling us to sew from A-C, but there being no A or C marked on the pattern. I kind of guessed that the tie should join the blouse at the curvy bit of the keyhole (even though this would hide so much of my beautiful binding!!), so I measured how much neck I would need to leave open and then stitched my tie right sides together from here. Once you've done this, the pattern implies you just stick this onto your neckline and then hey-presto! You're going to have some raw edges on show though that could be avoided, so I opted to sew one side to the blouse then fold over and hand stitch the other, folding in 1cm to hide raw edges. What do you think? How did anyone else attach their Lottie neck tie?
I did a really lazy narrow hem on both the bottom and sleeves by overlocking then turning under once, but that's okay right?
x
Location: Lynwood Gardens Sheffield
Currently listening to: End Of The World With You, Calexico


