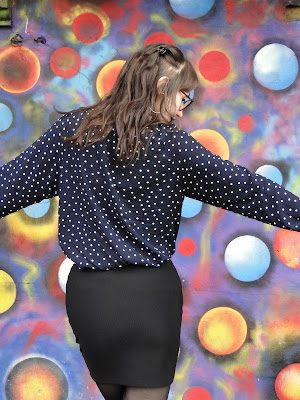
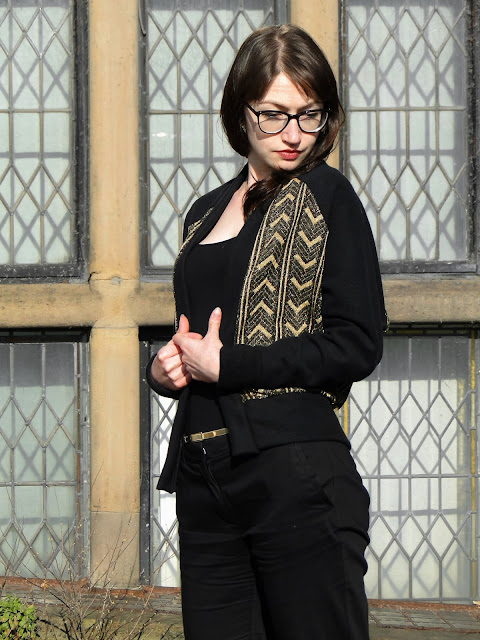
I had been on the look out for a shirt pattern that was distinctly different from the McCalls M7575, but without too much flouce or frill so I could still feel comfortable wearing it at work. What attacted me to the McCalls M7472 was the raglan sleeves. These instantly make the shirt different and will add an eyecatching element when using a directional fabric like stripes.
The size 12 lined up pretty much exactly to my measurements- I think this shirt is meant to be oversized as I feel I could definitely go down a size and it would still look loose. That said though, I don't think the shirt looks too big, it has a kind of Art School vibe to it, particularly in this fabric, which I am digging.
Each sleeve is then all in once piece, unlike the M7575 which has an upper and under sleeve. There are 2 pleats above the cuff and a (slightly fiddly!) continuous lap is added to the sleeve opening. You have to be really precise here as after you cut the slit into the sleeve there are literally millimeters left to sew the lap onto the opening. You have to open the split out and line the stitching/reinforement line on the sleeve with the 6mm seam allowance on the lap. The cuffs are then added which is quite simple, and then slipstiched to the inside.
As well as the cuffs, the inside of the button bands and collar stand are all slipstitched with the option of topstitching if you want to. My hand stitching is quite neat but I found this fabric was quite prone to snagged threads particularly when hand sewing. In hindsight I do wish I'd just stitched everything down from the top to avoid snags! The threads are quite delicate so there are no blindingly obvious places where the threads have pulled.
The hem is super curved then goes up to a kind of split at the side seams. I was worried this would get on my nerves when tucking into my skirt, but I love the length (I made option C). This also makes it really easy to knot-up the front when the weather gets warmer. The curved hem can be a bit tricky but I've been practicing! My tips would be use a tape measure and PRESS! And also follow the instructions when it says to sew long stitches 6mm from the edge. You can pull to help ease the in the fabric at the curviest points and it really works.
I'm a big fan of the shape of the collar on this shirt. I think the way it kind of squares off instead of points adds to the casual art school vibe.I chose to put the pockets on and include the flaps to further distance this shirt from the M7575 Shirt. I am looking forward to playing around with these on my next one with some contrasting fabric (maybe horizontal vs vertical stripes??). I will definitely interface both the pocket and the pocket flap next time to make them look a little sharper.I'm really glad I discovered this pattern. There are only 11 pieces to it, where as the M7575 has 17, so felt a lot quicker to put together. There are no darts in the bodice so makes for a speedier sew. I enjoyed the different elements like the sleeve plackets and the different shaped collar.
I'm super pleased I have another shirt pattern in my aresnal now! To finish I made a thin bow using some left over fabric just to tie round the neck if I do the button up to the top. There are so many options for styling the shirt! Tucked in, tied up, loose, sleeves rolled, buttoned up, buttoned down, casual and smart! A Spring 2021 essential.
x
Location: Abbeyfield Park, Sheffield
Currently listening to: Other Woman, Paloma Faith
Location: Abbeyfield Park, Sheffield
Currently listening to: Other Woman, Paloma Faith


